How to Make Tassels with Embroidery Thread
by Alice Davis
What separates a polished, professional-looking tassel from a frayed mess that falls apart after one wash? The answer comes down to technique, thread choice, and a few details most tutorials skip over. Learning how to make tassels with embroidery thread opens the door to custom embellishments for curtains, jewelry, bookmarks, garment trim, and dozens of other sewing and craft projects. This guide covers the full process from material selection through finishing techniques, with practical comparisons to help crafters at every skill level pick the right approach.
Embroidery thread tassels have a long history in textile arts, appearing in everything from ancient ceremonial garments to modern home décor accents. The craft itself requires minimal investment — most people already own the basic supplies — yet the finished results can rival store-bought trimmings that cost several dollars each. Whether the goal is a single decorative accent or a batch of matching tassels for a larger project, the steps below provide a reliable, repeatable method.
Contents
Tassel Styles at a Glance
Before diving into the step-by-step process, a quick comparison of the most common tassel variations helps clarify which style suits a given project best.
| Style | Difficulty | Thread Needed | Best For | Avg. Size |
|---|---|---|---|---|
| Classic single-color | Beginner | 1 skein | Bookmarks, zipper pulls | 2–3 inches |
| Multi-color layered | Intermediate | 2–3 skeins | Curtain tiebacks, garment trim | 3–5 inches |
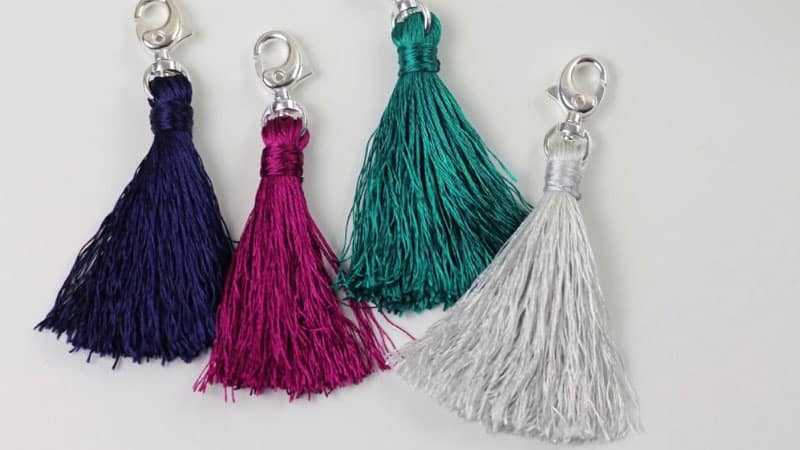
| Wrapped-head decorative | Intermediate | 2 skeins | Jewelry, bag charms | 1–2 inches |
| Beaded or knotted | Advanced | 2+ skeins | Wall hangings, boho décor | 4–8 inches |
| Mini cluster | Beginner | 1 skein | Earrings, gift toppers | 0.5–1 inch |
Pro tip: When making tassels in bulk, cut all thread lengths at once using a piece of cardboard as a template — this keeps sizes consistent across the entire batch.
Essential Supplies for Making Tassels
Cutting and Wrapping Tools
The supply list for basic tassel-making remains refreshingly short, which is part of the craft's appeal for beginners and experienced makers alike.
- Embroidery thread — six-strand cotton floss is the standard choice, available in hundreds of colors at most craft stores
- Sharp scissors — clean cuts prevent fraying at the tassel ends, and a quality pair of sharp cutting tools makes a noticeable difference in the finished look
- Cardboard or a tassel maker — cut to the desired tassel length, this serves as the wrapping form
- Ruler or measuring tape — consistency matters when making matching sets
Finishing and Attachment Supplies
- Jump rings or eye pins — for jewelry-style tassels that need a metal attachment point
- Fabric glue — a small dab at the head wrap prevents unraveling over time
- A comb or fine brush — smoothing the strands after cutting gives tassels a polished, professional appearance
- Storage container — a well-organized tool bag keeps thread skeins sorted by color family and prevents tangling
Understanding Embroidery Thread Options
Strand Count and Thickness
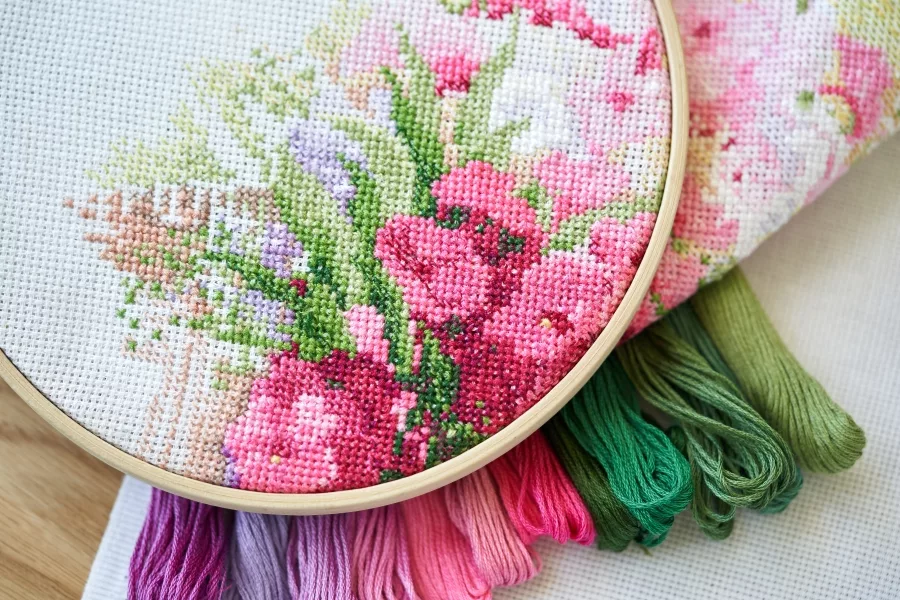
Standard embroidery floss consists of six loosely twisted strands that can be separated or used together, and this flexibility is what makes it ideal for tassels of varying fullness. Using all six strands produces a thicker, more luxurious tassel, while separating into groups of two or three strands creates a finer, more delicate result. The history and composition of embroidery thread explains why mercerized cotton remains the most popular fiber for this purpose — its slight sheen catches light beautifully.
Fiber Content Considerations
Cotton floss works well for most decorative tassels, but silk thread produces an elevated drape that suits formal applications like evening wear or high-end home furnishings. Polyester blends offer better durability for items that will see heavy use or frequent washing, such as pillowcase corners or children's clothing embellishments. Rayon thread provides a brilliant shine at a lower cost than silk, though it tends to be slightly more slippery during the wrapping stage.
Worth noting: Metallic embroidery threads look stunning in tassels but tend to kink and tangle easily — working with shorter lengths and slower wrapping motions helps manage them.
Basic Tassels vs. Decorative Designs
The Simple Wrap-and-Tie Method
The foundational technique for learning how to make tassels with embroidery thread involves just four steps that most crafters can master within a single sitting.
- Wrap — wind embroidery thread around a piece of cardboard cut to the desired tassel length, repeating until the bundle reaches the preferred thickness (typically 30–50 wraps for a standard tassel)
- Tie the top — slide a separate length of thread under the wrapped bundle at one end and tie a tight double knot to secure the head
- Cut the bottom — snip through all the loops at the opposite end of the cardboard to release the strands
- Wrap the neck — wind thread tightly around the bundle about a quarter-inch below the top knot, then tie off and tuck the tail inside
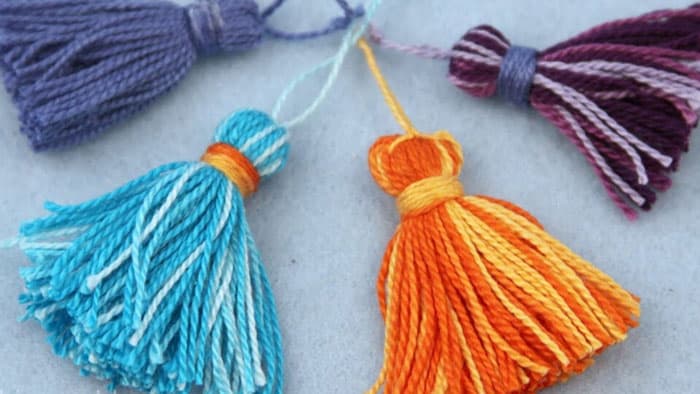
Layered and Multi-Color Techniques
Once the basic method feels comfortable, more elaborate designs become accessible through simple variations on the same core process. Layered tassels involve wrapping two or more colors in sequence, with the outer layer slightly shorter than the inner one, so both colors remain visible in the finished piece. Crafters who also work with heat press machines sometimes combine thread tassels with heat-transfer vinyl elements for mixed-media projects that stand out at craft fairs.
Knotted-head tassels replace the simple neck wrap with a series of decorative knots — such as a Turk's head or a series of half hitches — that add texture and visual interest to the top portion. Beaded variations incorporate small seed beads threaded onto individual strands before the final assembly, creating a subtle sparkle effect.
When Thread Tassels Work Best — and When They Don't
Embroidery thread tassels excel in lightweight decorative applications where their soft drape and color range create the most impact, but they have clear limitations in certain contexts.
Ideal situations:
- Bookmarks, gift tags, and greeting card embellishments where delicacy matters
- Jewelry pieces like earrings and necklace pendants that benefit from the thread's light weight
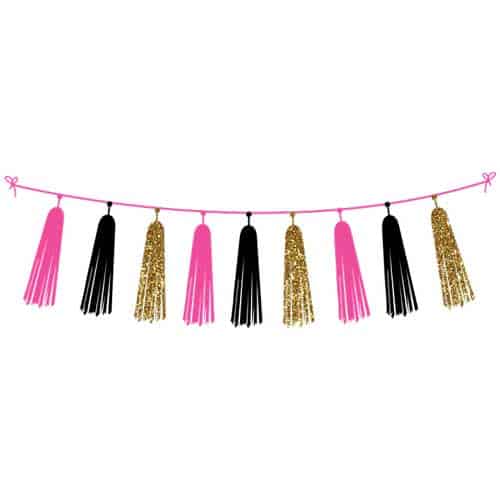
- Curtain and pillow accents in low-traffic areas of the home
- Craft fair inventory, since material costs remain extremely low per unit
Less suitable situations:
- Outdoor applications where UV exposure and moisture will degrade cotton fibers quickly
- Children's toys or pet accessories where durability and washability take priority over aesthetics
- Heavy-duty home décor like rug fringe or upholstery trim that needs thicker cord or yarn
For projects that require frequent washing — such as kitchen linens — consider treating finished tassels with a light coat of fabric stiffener, or switching to a polyester embroidery thread that holds up better through laundry cycles. Organizing craft supplies alongside other household project gear, much like keeping a reliable home printer stocked and ready, ensures that tassel-making sessions stay productive rather than stalled by missing materials.
Quick warning: Avoid pulling embroidery thread too tightly during the neck wrap — overtightening can cause the head to bunch unevenly, and the damage is nearly impossible to fix without starting over.
Weighing the Benefits and Drawbacks
Like any craft technique, making tassels with embroidery thread comes with a clear set of advantages alongside a few practical limitations that crafters should weigh before committing to a large project.
Benefits:
- Extremely affordable — a single skein of embroidery floss costs under a dollar and yields multiple tassels
- Massive color selection with over 400 standard DMC shades available for precise color matching
- No specialized equipment required beyond scissors and a flat wrapping surface
- Portable craft that travels well for on-the-go crafting sessions during road trips or downtime
- Quick completion time, with most single tassels finished in under ten minutes
Drawbacks:
- Less durable than yarn or cord tassels, especially in high-wear applications
- Prone to fraying at cut ends if not trimmed with very sharp scissors
- Limited thickness range — achieving a very full tassel requires a significant amount of thread and patience
- Colors may bleed if exposed to water before a vinegar-set treatment, particularly with darker shades of red and blue
Frequently Asked Questions
How many strands of embroidery thread should be used for one tassel?
Using all six strands together produces the fullest result. For a standard two-inch tassel, wrapping the full six-strand floss around a cardboard template 30 to 50 times creates a nicely proportioned shape with good body and drape.
What is the best way to prevent tassel ends from fraying?
Cutting with sharp, clean scissors at a slight angle helps create cleaner ends. Applying a tiny amount of clear fabric glue or fray check liquid to the cut tips provides additional protection, especially for tassels that will be handled frequently.
Can embroidery thread tassels be washed?
Cotton embroidery floss tassels can withstand gentle hand washing, though machine washing may cause tangling and distortion. Pre-treating the thread with a vinegar and water soak before assembly helps set colors and reduce bleeding during future washes.
How long does it take to make one tassel?
A basic single-color tassel typically takes five to ten minutes from start to finish once the technique becomes familiar. More complex multi-color or beaded designs may require 15 to 30 minutes per tassel depending on the level of detail involved.
What size cardboard template works best?
The cardboard should be cut to match the desired finished tassel length. Common sizes range from one inch for miniature jewelry tassels up to six inches for curtain or pillow accents. A credit card works well as a quick template for medium-sized tassels.
Is embroidery thread better than yarn for tassels?
Embroidery thread produces finer, more refined tassels with a subtle sheen that yarn cannot replicate. Yarn works better for larger, chunkier tassels used in blankets or wall hangings, while embroidery thread excels in jewelry, bookmarks, and delicate trim applications.
How can tassels be attached to fabric?
The most secure method involves threading the tassel's top tie through a sewing needle and stitching it directly to the fabric with several reinforcing passes. For removable tassels, attaching a small lobster clasp or jump ring to the head loop allows easy clipping on and off.
What are common mistakes beginners make with thread tassels?
The most frequent errors include wrapping too loosely around the template, cutting the bottom loops unevenly, and tying the neck wrap too high or too low on the head. Practicing with inexpensive thread in a single color builds muscle memory before moving to more complex designs.
Next Steps
- Gather supplies and make a practice tassel — pick up one skein of cotton embroidery floss, cut a three-inch cardboard template, and follow the four-step wrap-tie-cut-wrap method described above to complete a first tassel in under ten minutes.
- Experiment with color combinations — try a two-color layered tassel using complementary shades, wrapping the accent color as the outer layer with slightly fewer wraps so both colors show clearly in the finished piece.
- Apply tassels to a real project — attach finished tassels to a bookmark, zipper pull, or pillow corner to test durability and visual impact before committing to a larger batch for curtains or garment trim.
- Build a color-matched collection — select five to eight thread colors that coordinate with existing home décor or wardrobe pieces, and make a set of matching tassels to keep on hand for quick embellishment whenever a project calls for one.


About Alice Davis
Alice Davis is a crafts educator and DIY enthusiast based in Long Beach, California. She spent six years teaching textile design and applied arts at a community college, where she introduced students to everything from basic sewing techniques to vinyl cutting machines and heat press printing as practical, production-ready tools. That classroom experience means she has put more sewing machines, embroidery setups, Cricut systems, and heat press units through real project work than most reviewers ever will. At PalmGear, she covers sewing machines and embroidery tools, vinyl cutters, heat press gear, Cricut accessories, and T-shirt printing guides.
You can get FREE Gifts. Or latest Free phones here.
Disable Ad block to reveal all the info. Once done, hit a button below