Why Is My Vinyl Cutter Not Cutting Properly?
by Alice Davis
Ever stop and wonder why is my vinyl cutter not cutting and working properly — right in the middle of a big project? That frustration has a cause, and almost always a quick fix. Blade depth, cutting pressure, dull blades, and material mismatches cover the overwhelming majority of vinyl cutter failures. Crafters who explore the full heat press and vinyl tools category often find the right gear before problems even start.
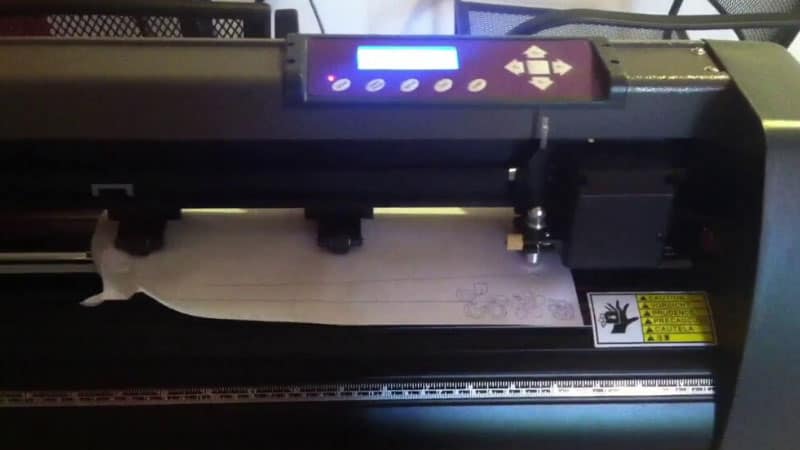
Most vinyl cutter issues do not require a technician. The machine did not break — it just needs a calibration check or a fresh blade. A structured troubleshooting approach finds the root cause fast and gets cuts back to clean, precise results.
This guide covers the most common reasons a vinyl cutter stops working as expected, walks through step-by-step fixes, compares blade and setting choices, and outlines the long-term habits that prevent repeat problems. Whether the machine is skipping cuts, tearing material, or producing jagged lines, the answers are here.
Contents
The Real Reasons a Vinyl Cutter Is Not Cutting Properly
When a vinyl cutter is not cutting and working properly, the problem almost always falls into one of four categories. Identifying which one saves hours of wasted material and guesswork.
Blade Depth Is Off
Blade depth is the single most common cause of bad cuts. The blade tip should extend just enough to slice through the vinyl — not the backing sheet beneath it.
- Too shallow: The blade skims the surface without cutting through cleanly.
- Too deep: The blade cuts through the backing liner and drags or tears the material.
- Correct depth: A faint scratch mark on the backing after a test cut — nothing more.
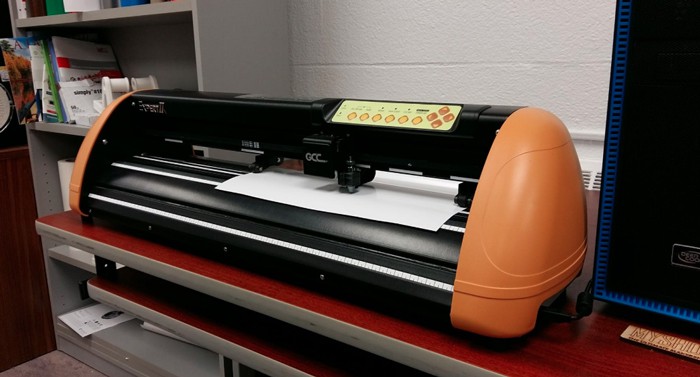
To set blade depth correctly, hold the blade holder against a scrap piece of vinyl on a flat surface. The tip should barely extend past the holder — roughly the thickness of a single sheet of paper. Most manufacturers include a depth gauge or reference card in the box. Use it every time the blade is swapped out.
Pressure and Speed Settings
After blade depth, cutting force (pressure) and speed are the next usual suspects. Getting these wrong causes problems that look like blade issues but are actually software setting issues.
- Too little pressure: Cuts appear incomplete or barely visible on the vinyl surface.
- Too much pressure: Material tears during cutting, or the blade gouges deep into the cutting mat.
- Too fast: Curves and fine details come out jagged and inaccurate.
- Speed too low: Can cause blade drag on heat transfer vinyl, leaving smeared edges.
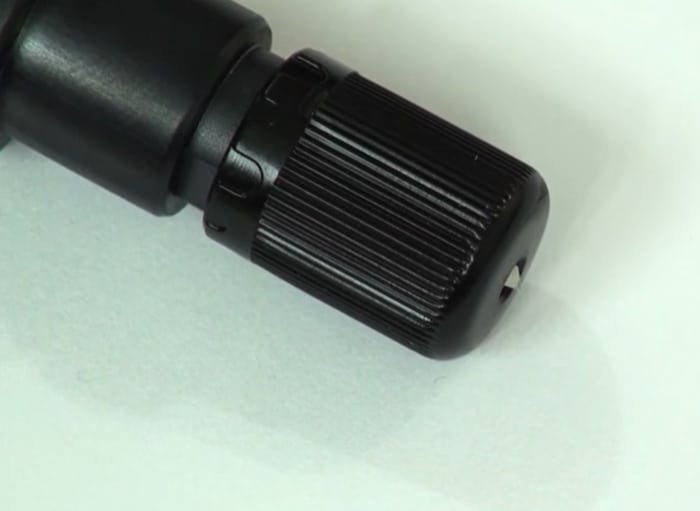
A good starting point is always the manufacturer's recommended settings for the specific material being cut. From there, adjust in small increments — typically 5 to 10 grams of force at a time — and run a fresh test cut after each change until results are consistently clean.
Material Compatibility Problems
Not every vinyl cutter handles every material. Thicker or specialty materials demand different blades, higher force, and sometimes multiple passes to cut cleanly.
- Standard adhesive vinyl: Easiest to cut. Minimal blade force needed.
- Heat transfer vinyl (HTV): Slightly thicker than adhesive vinyl. Requires more pressure and a specific blade orientation.
- Cardstock, foam, leather: Needs a deep-cut blade and significantly higher force settings.
- Glitter vinyl: Abrasive on blades — expect to replace blades more frequently.
- Printable vinyl: Thin and delicate. Reduce pressure to avoid cutting through the ink layer.
Crafters who regularly work with heat transfer vinyl know that HTV behaves very differently from standard adhesive vinyl. Each material type requires its own dialed-in settings. Treating them all the same is a reliable path to bad results.
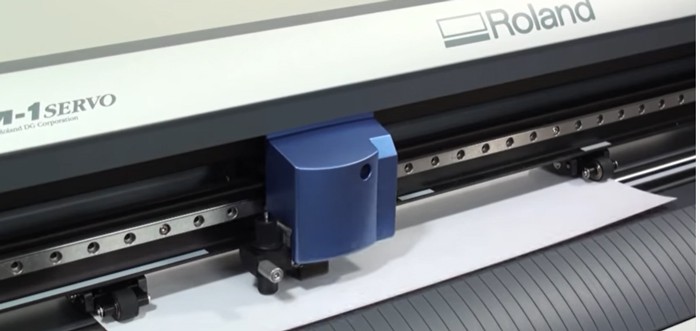
The offset setting — the distance the blade tip sits from the blade's rotational center axis — also plays a key role. An incorrect offset causes rounded corners to look pointed, or sharp corners to appear blunt and rounded. Every blade brand lists its own offset value in the manual or on the packaging. Always match the offset to the specific blade being used, not a generic default.
How to Fix a Vinyl Cutter: Step-by-Step
Fixing a vinyl cutter that is not cutting and working properly follows a logical sequence. Start with the simplest check and work outward from there. Skipping ahead wastes time and materials.
Checking and Adjusting Blade Depth
- Remove the blade holder from the cutter carriage.
- Hold the blade holder tip firmly against a scrap piece of vinyl on a flat, hard surface.
- Confirm the blade tip extends just past the vinyl surface — no more than a hair's width.
- Turn the blade depth dial in small increments clockwise to increase depth, counter-clockwise to decrease.
- Reinstall the holder securely in the carriage.
- Run a small test cut — a 1-inch square works fine.
- Check the back of the material. A faint score line on the backing liner is the target. Deep gouges mean too much depth.
Replace the blade if it has logged more than 6 to 8 hours of cutting time. Dull blades are a major reason why vinyl cutter performance degrades gradually — the change in cut quality is subtle enough that many users do not notice until a project is ruined.
Calibrating Pressure and Speed
- Open the machine's cutting software — Cricut Design Space, Sure Cuts A Lot, Roland CutStudio, or the relevant platform.
- Navigate to the material settings panel and select the correct material type.
- Note the default pressure and speed values before making any changes.
- Run a test cut using a simple shape that has both straight lines and curves.
- Inspect the cut result. Raise pressure if cuts are incomplete. Lower pressure if material is tearing.
- Adjust speed downward for detailed designs. Re-run the test after each change.
- Lock in the settings once results are clean and consistent across the full test shape.

According to the cutting plotter overview on Wikipedia, blade force requirements vary widely between material types and machine models. The manufacturer's manual for the specific machine is always the most reliable starting reference.
Running a Proper Test Cut
A test cut is the fastest diagnostic tool available. Every new material type or fresh blade warrants one before tackling a full design.
- Use a shape that includes straight lines, tight curves, and at least one sharp corner.
- Weed (remove) the cut piece and inspect edges for cleanness.
- Check the backing liner for blade penetration depth.
- If corners are not sharp, adjust the offset value in small increments of 0.1mm.
- Repeat until results are consistent across the entire test shape, not just part of it.
Users who skip the test cut step almost always end up wasting a full sheet of vinyl on a design that comes out wrong. Thirty seconds of testing saves ten minutes of frustrated re-cutting.
Blade Types and Settings: What Works vs. What Fails
Choosing the right blade for the material is just as important as dialing in the settings. The wrong blade produces bad cuts no matter how precisely depth and pressure are tuned.
Blade Type Breakdown
- Standard blade (45°): Best choice for regular adhesive vinyl, thin paper, and light cardstock up to 65 lb.
- Deep-cut blade (60°): Required for thick materials — foam, genuine leather, heavy cardstock, rubber sheets.
- Fabric blade: Designed for bonded fabric and felt. Stays sharper longer on fibrous materials than a standard blade.
- Knife blade: Handles multi-pass cuts on balsa wood, chipboard, and materials up to 3mm thick.
- Perforation blade: Creates dotted cut lines for tear-away edges on labels and packaging projects.
Mismatching blade to material is a guaranteed way to get bad results. A standard blade forced through thick foam will drag and tear. A knife blade used on thin vinyl will overcut every curve and corner. The right blade costs a few dollars. The wrong one costs a full project.
Projects that combine vinyl cutting with printed transfers share similar material-matching logic. The guide on why eco-solvent heat transfer papers outperform standard options covers the same principle of matching media to the job at hand.
Common Cutting Problems at a Glance
| Symptom | Most Likely Cause | Fix |
|---|---|---|
| Vinyl not cutting through at all | Blade too shallow or pressure too low | Increase blade depth; raise cutting force by 10g increments |
| Blade cuts through the backing liner | Blade too deep or pressure too high | Decrease blade depth; lower force in small steps and retest |
| Jagged or rough cut edges | Dull blade or incorrect offset value | Replace blade; check and adjust offset per blade brand specs |
| Material slipping or skewing mid-cut | Dirty rollers or worn-out cutting mat | Clean pinch rollers; replace the mat if grip is gone |
| Corners not sharp or precise | Offset value too high or too low | Adjust offset in 0.1mm increments; run test cut after each |
| Cut looks fine but vinyl tears when weeding | Wrong blade type for the material | Switch to the correct blade; reduce cutting speed |
| Design cuts correctly on one axis but not the other | Mat or material loaded at an angle | Reload material straight; confirm rollers are aligned evenly |
Long-Term Habits for Consistent Vinyl Cutter Performance
Solving a single cutting problem is useful. Preventing repeat failures is the real goal. A few consistent habits make a dramatic difference in how a vinyl cutter performs month after month.
Cleaning and Maintenance Schedule
Regular cleaning keeps a vinyl cutter producing clean results session after session. Skipping maintenance is the fastest way to turn a minor issue into a major one.
- After every session: Remove vinyl scraps and debris from the cutting mat. Wipe down the pinch rollers with a dry lint-free cloth.
- Weekly (for heavy users): Clean the blade holder with isopropyl alcohol to dissolve adhesive buildup. Inspect the cutting mat for worn or low-tack areas.
- Monthly: Check the carriage rail for debris or buildup. Inspect all screws and connections for looseness caused by vibration over time.
- As needed: Replace the cutting mat when it loses tackiness and material starts sliding. Replace blades when cut edges show visible roughness despite correct settings.
Cutting mats lose their grip gradually. When material starts shifting mid-cut, it almost always points to a worn mat rather than a machine fault. A replacement mat costs a few dollars and eliminates the problem immediately. Trying to work around a worn mat with tape or extra weight wastes time and produces inconsistent results.
Adhesive residue from vinyl backing accumulates on the pinch rollers over time. That buildup causes material to feed unevenly, which produces skewed cuts even when all other settings are correct. A quick wipe with isopropyl alcohol after each session prevents the buildup entirely.
Software, Drivers, and Firmware
Hardware is only half the equation. Software problems cause vinyl cutter failures just as often as mechanical ones — and they are easier to overlook because nothing looks physically wrong.
- Keep cutting software updated to the latest stable version from the manufacturer's site.
- Check for firmware updates for the machine itself — these often include cutting algorithm improvements.
- Verify that the USB or Bluetooth connection driver is current and not flagged in the system's device manager.
- Re-run the machine's built-in calibration routine after any significant software or firmware update.
- For SVG or DXF design files, confirm the cutting software is importing at the correct scale — 1:1 with no automatic scaling applied.
- If cuts suddenly change quality without any hardware changes, check for a software update that altered default material settings.
File format and scale issues are an underrated source of cutting failures. A design that looks correct on screen can arrive at the cutter scaled incorrectly, producing either tiny cuts crammed into a corner or oversized shapes that run off the edge of the material. Always verify physical dimensions in the cutting software's preview before sending any job to the machine.
Frequently Asked Questions
Why is my vinyl cutter not cutting all the way through the vinyl?
The most common causes are insufficient blade depth or cutting pressure set too low. Start by increasing blade depth slightly, then run a test cut on scrap material. If the problem continues, raise cutting force in increments of 5 to 10 grams until the cut is clean all the way through.
How often should the blade in a vinyl cutter be replaced?
Most standard blades last between 6 and 8 hours of active cutting time under normal conditions. Abrasive materials like glitter vinyl, cardstock, and leather dull blades faster than standard adhesive vinyl. When cut edges start looking rough or ragged despite correct settings, blade replacement is the first step to take.
What does the offset setting on a vinyl cutter control?
The offset value controls the distance between the blade's cutting tip and its rotational center axis. An incorrect offset causes corners to appear rounded when they should be sharp, or to overshoot and look pointed. Every blade brand specifies its own offset value — always check the blade's packaging or the manufacturer's spec sheet rather than using a generic default.
Can a standard vinyl cutter handle heat transfer vinyl?
Yes, most vinyl cutters handle heat transfer vinyl (HTV) with the right adjustments. HTV is thicker than standard adhesive vinyl and requires higher cutting pressure. It is also loaded with the glossy carrier sheet face-down, which is the opposite of standard vinyl. Dialing in dedicated HTV settings and running a test cut first prevents wasted material. More detail on working with HTV is available in the heat transfer vinyl reviews guide.
Why does the vinyl cutter keep skipping sections or leaving areas uncut?
Skipped cuts usually point to material slipping on the mat mid-job, adhesive buildup on the blade holder, or a cutting mat that has lost its grip. Clean the pinch rollers, check that the mat is still tacky across its full surface, and confirm the material is loaded perfectly straight before re-running the design.
Does cutting speed affect vinyl cutter accuracy?
Speed has a direct impact on cut quality for designs with fine details, small text, or tight curves. Slowing down gives the blade more time to pivot cleanly around corners and trace intricate shapes accurately. For large, simple geometric cuts, standard speed works well. For anything detailed or complex, reducing speed is the reliable fix for jagged edges and imprecise corners.
What is the best way to test vinyl cutter settings before starting a big project?
Always run a test cut using a small shape that includes both straight lines and curved sections — a 1-inch circle or a simple star shape works well. Weed the test cut completely and inspect both the cut edges and the backing liner. Adjust settings in small increments after each test until results are clean and consistent across the entire shape, then proceed to the full design with confidence.
Next Steps
- Run a blade depth check right now — hold the blade holder against a scrap of vinyl and confirm the tip extends only a paper's width past the holder tip before the next cut session.
- Do a dedicated test cut with a 1-inch circle or star shape before every new material type or every blade swap to confirm settings are dialed in before committing to a full project.
- Replace the blade if it has been used for more than 6 to 8 hours of active cutting, or if cut edges look rough despite correct depth and pressure settings.
- Clean the pinch rollers and inspect the cutting mat — if the mat feels smooth or material has been shifting mid-cut, replace the mat before the next project.
- Browse the full vinyl cutter reviews and buying guide to compare machines by material compatibility, blade system, and software support — finding the right machine for the job eliminates many of these problems from the start.


About Alice Davis
Alice Davis is a crafts educator and DIY enthusiast based in Long Beach, California. She spent six years teaching textile design and applied arts at a community college, where she introduced students to everything from basic sewing techniques to vinyl cutting machines and heat press printing as practical, production-ready tools. That classroom experience means she has put more sewing machines, embroidery setups, Cricut systems, and heat press units through real project work than most reviewers ever will. At PalmGear, she covers sewing machines and embroidery tools, vinyl cutters, heat press gear, Cricut accessories, and T-shirt printing guides.
You can get FREE Gifts. Or latest Free phones here.
Disable Ad block to reveal all the info. Once done, hit a button below