How to Apply Automotive Clear Coat
by Sandra Holt
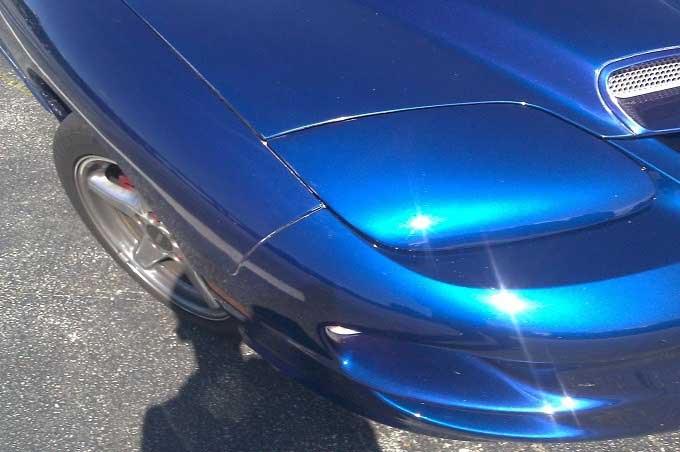
Nearly 70% of automotive paint failures trace back to improper clear coat application — a statistic that surprises most first-time DIYers. Learning how to apply automotive clear coat correctly makes the difference between a finish that lasts a decade and one that peels within months. Clear coat is the transparent protective layer sitting on top of base coat paint. It shields the color from UV rays, oxidation, and minor scratches. Done right, it gives a vehicle that deep, glossy showroom look. Done wrong, it creates orange peel texture, drips, and cloudy patches that are expensive to fix. This guide breaks down everything needed to get a professional result at home.
Contents
What Does Automotive Clear Coat Actually Cost?
Budget is usually the first question. Clear coat costs vary widely depending on product quality, coverage area, and whether the job goes to a professional shop or stays in the driveway.
DIY vs. Professional Application
A professional respray at a body shop runs between $500 and $3,500 for a full vehicle, depending on panel count and product grade. DIY aerosol cans cover small repairs for as little as $15 to $40. Spray gun setups for full-panel work cost more upfront — typically $80 to $300 for the gun alone — but the per-job cost drops significantly over multiple projects.
- Aerosol cans: $15–$40 per can, covers small panels or spot repairs
- Spray gun + bulk clear: $80–$300 initial investment, ~$40–$80 per quart of product
- Professional shop: $500–$3,500 full vehicle, $150–$600 single panel
- Sandpaper and prep supplies: $20–$60 additional
Clear Coat Product Tiers
Not all clear coats are equal. The table below compares the most common product categories side by side.
| Type | Best For | Durability | Avg. Cost | Skill Level |
|---|---|---|---|---|
| Aerosol Can | Touch-ups, small chips | 2–4 years | $15–$40 | Beginner |
| Single-Stage Urethane | Budget full-panel work | 4–6 years | $40–$80/qt | Intermediate |
| Two-Stage Urethane | Professional-quality finish | 7–10+ years | $60–$120/qt | Intermediate–Advanced |
| Ceramic-Infused Clear | Maximum UV and scratch resistance | 10+ years | $100–$200/qt | Advanced |
When to Use Clear Coat — and When to Skip It
Timing and conditions matter as much as technique. Applying clear coat in the wrong environment wastes product and ruins the finish.
Ideal Conditions for Application
Clear coat performs best when applied within a specific environmental window. According to EPA guidelines on automotive surface coatings, solvent-based clears need adequate ventilation and controlled temperature to cure properly. The optimal conditions include:
- Temperature between 60°F and 80°F (15°C–27°C)
- Relative humidity below 60%
- No direct sunlight on the panel during application
- Base coat fully flashed off — usually 15 to 30 minutes after last base coat pass
- Working indoors or in a shaded garage whenever possible
The same principle applies to other detail-oriented DIY projects. Just as knowing how to winterize an RV step by step requires respecting temperature windows and sequence, clear coat application demands the same disciplined approach to environmental conditions.
Situations to Avoid
There are clear scenarios where applying clear coat will do more harm than good.
- Do not apply over rust, flaking paint, or unprimed bare metal
- Avoid application in high humidity — moisture causes milky blush in the finish
- Skip it when temperatures drop below 50°F — the product won't cure evenly
- Do not apply over silicone-contaminated surfaces — fish eyes will appear immediately
- Avoid windy conditions outdoors — dust contamination ruins the wet surface
Pro tip: Always test a small hidden panel first. This reveals any compatibility issues between the new clear and existing paint layers before committing to a full application.
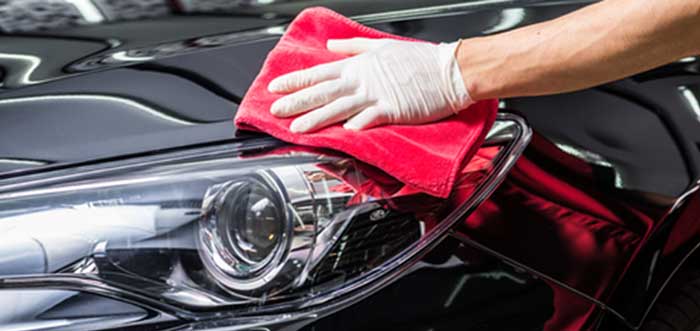
Step-by-Step: How to Apply Automotive Clear Coat
Understanding how to apply automotive clear coat properly starts with preparation. Rushing surface prep is the single most common mistake. The spray gun or can is almost secondary.
Surface Preparation
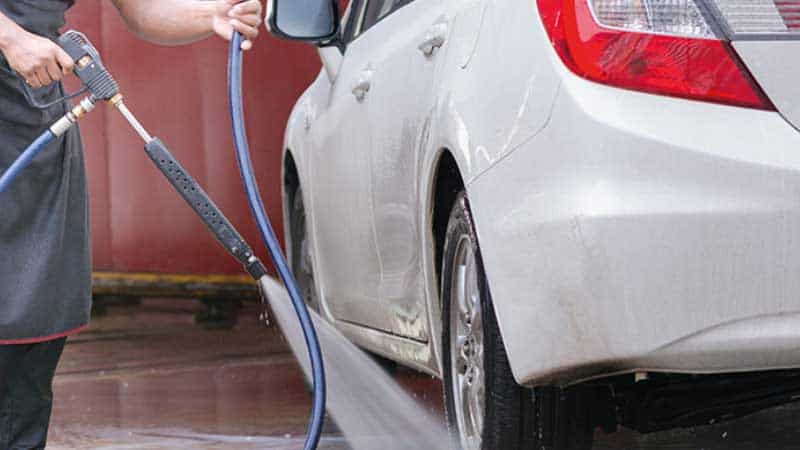
- Wash and degrease — Remove all wax, grease, and contaminants with a wax-and-grease remover. Any residue will cause adhesion failure.
- Sand the surface — Use 400 to 600-grit wet sandpaper to scuff the existing finish. This gives the clear coat mechanical adhesion. Wipe dry thoroughly.
- Mask surrounding areas — Tape off trim, glass, and rubber seals. Overspray sticks everywhere.
- Tack cloth wipe — Right before spraying, wipe the panel with a tack cloth to remove any last dust particles.
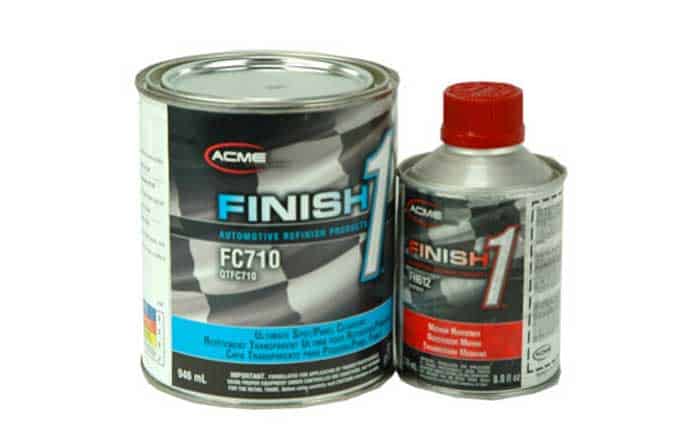
- Mix product correctly — Two-stage urethane clears require a hardener. Follow the manufacturer's ratio precisely — usually 4:1 or 2:1 by volume.
Application Technique
Set the spray gun to a fan width of 6 to 8 inches for most panels. Hold the gun 6 to 8 inches from the surface. Move in smooth, overlapping passes — each pass overlapping the previous by about 50%. Keep the gun moving at a consistent speed. Stopping mid-panel creates runs.
- First coat: Apply a light "tack coat." This is a thin, almost dry pass that gives subsequent coats something to grip.
- Wait 5–10 minutes for the tack coat to flash off.
- Second coat: Apply a medium wet coat. This is the main build coat.
- Third coat: Apply a full wet coat for depth and gloss.
- Allow full cure: Touch-dry in 30–60 minutes. Full cure takes 24–48 hours. Avoid washing or polishing for at least one week.
Troubleshooting Common Clear Coat Problems
Even experienced applicators run into issues. Knowing what caused the defect is the first step to fixing it — or preventing it next time.
Orange Peel and Fish Eyes
Orange peel texture — that bumpy, citrus-skin look — happens when the clear coat dries too fast before it can level. This is usually caused by:
- Holding the gun too far from the surface
- Moving too quickly across the panel
- Low air pressure causing coarse atomization
- Application in temperatures above 85°F
The fix: wet sand with 1500-grit paper after full cure, then compound and polish back to gloss. Fish eyes (small craters) almost always point to silicone contamination. The panel needs to be stripped and re-prepped. There is no shortcut here.
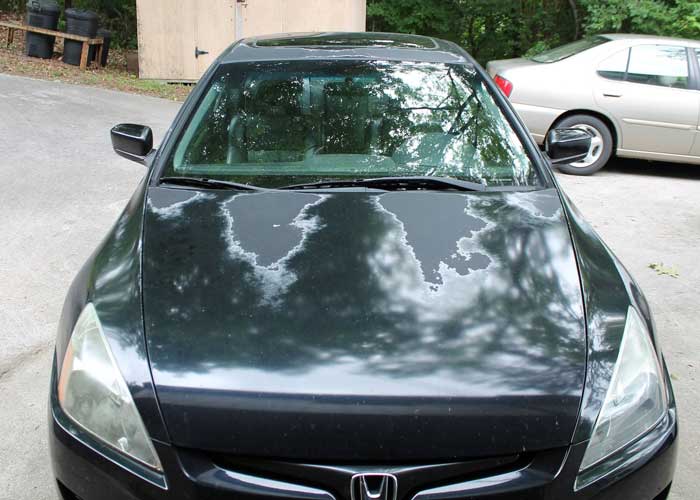
Peeling and Cloudy Finish
Peeling is a sign of adhesion failure. The most frequent causes are insufficient surface scuffing, applying over wax residue, or skipping a compatible primer. A cloudy or milky finish usually means moisture was trapped during application — common when spraying in high humidity without adequate ventilation. Both problems require sanding back and starting the clear coat stage over. Catching them early saves time. Waiting until the clear is fully hardened makes correction harder.
Warning: Never apply fresh clear coat over a peeling or blistered existing layer — the defect will telegraph straight through to the new surface within weeks.
This attention to surface integrity applies across many DIY projects. The same diagnostic mindset useful for troubleshooting an RV water pump not working — trace the problem to its root cause before applying a fix — works equally well for paint defects.
Maintaining Clear Coat Over Time
A properly applied clear coat is durable, but it still needs routine care. Neglect accelerates UV degradation and oxidation, which creates the chalky, dull appearance common on older vehicles.
Waxing and Polishing
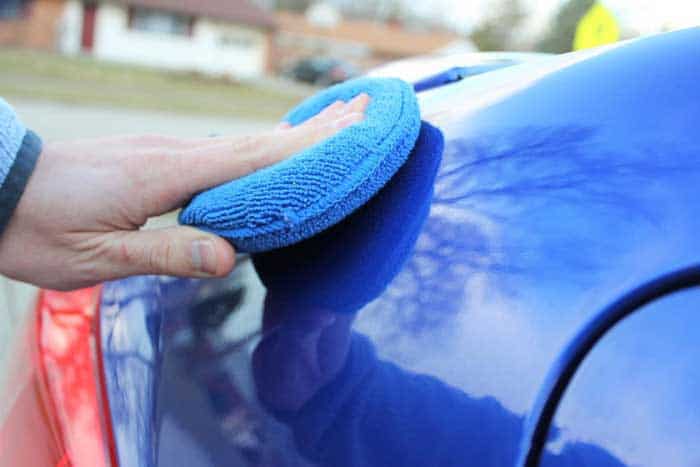
Waxing every three to four months provides a sacrificial barrier between the clear coat and the environment. Carnauba wax is the traditional choice — it adds warmth and gloss. Synthetic polymer sealants last longer, typically six to twelve months per application. Paint correction polish (cutting compound) should only be used when swirl marks or light scratches become visible. Overuse thins the clear coat layer permanently. Most DIY clear coats are applied at 2 to 4 mil thick — there is a finite amount of material to work with.
Long-Term Care Tips
- Park in shade or a garage whenever possible — UV is the primary enemy of clear coat
- Wash with pH-neutral automotive soap — household dish soap strips wax and attacks the clear
- Avoid automated brush car washes — the bristles create micro-scratches over time
- Address bird droppings, tree sap, and insect residue immediately — these are mildly acidic and etch the clear within hours in hot weather
- Apply a ceramic coating for extended protection — adds years of service life with minimal upkeep
For readers who enjoy hands-on maintenance projects, exploring the home appliances category on PalmGear covers a wide range of DIY care and equipment guides. The same practical, step-by-step approach carries across all of them.
Frequently Asked Questions
How many coats of clear coat does a car need?
Most professional finishes use three coats — a light tack coat, a medium build coat, and a final full wet coat. For aerosol applications, two to three thin coats are standard. More coats do not always mean better results; excessive build increases the risk of runs and solvent popping.
How long should base coat dry before applying clear coat?
Base coat should flash off for at least 15 to 30 minutes before the first clear coat pass, depending on the product and temperature. The surface should appear dull and dry to the touch, not tacky. Applying clear coat too early traps solvents and causes bubbling or solvent pop defects.
Can clear coat be applied over existing clear coat?
Yes, but only if the existing clear is in sound condition with no peeling, cracking, or delamination. The existing surface must be sanded with 400 to 600-grit paper to create a mechanical bond. Applying over a failing clear coat is never recommended — the new layer will peel with it.
What is the best temperature to apply clear coat?
The optimal temperature range is 60°F to 80°F (15°C to 27°C). Below 50°F, the product cures too slowly and may sag. Above 90°F, it flashes too fast and creates orange peel texture before it can level out. Early morning application often hits the best window during summer months.
How long does automotive clear coat take to fully cure?
Clear coat is typically touch-dry in 30 to 60 minutes and can be handled carefully after several hours. Full chemical cure takes 24 to 48 hours for most urethane products. Wet sanding, polishing, or washing should wait at least five to seven days to avoid damaging the finish before it reaches full hardness.
Can automotive clear coat be applied with a brush or roller?
Spray application is strongly recommended for any clear coat product designed for automotive use. Brush or roller application leaves visible texture, stroke marks, and an uneven finish that cannot be corrected without full removal. Some specialty rattle-can clears accept light brush application for tiny chip repairs only.
Why is clear coat peeling on an older vehicle?
Clear coat peels when UV exposure breaks down the polymer bonds over time, or when the original application had adhesion problems. Heat cycling, road salt, and improper washing accelerate the process. Once clear coat begins to peel, the only permanent repair is sanding the affected area back to base coat or primer and reapplying fresh clear coat.
Final Thoughts
Mastering how to apply automotive clear coat is a skill that pays dividends every time — whether protecting a fresh repaint or refreshing an aging factory finish. The tools are accessible, the process is learnable, and the results of a properly applied clear coat speak for themselves. Start with a small test panel, invest in quality product, and follow the preparation steps without cutting corners. The finish will last for years.


About Sandra Holt
Sandra Holt spent eight years as a project manager for a residential renovation company in Portland, Oregon, overseeing kitchen and bathroom remodels from initial estimate through final walkthrough. That work exposed her to an unusually wide range of home equipment — from HVLP spray guns and paint sprayers on the tools side to range hoods, kitchen faucets, and countertop appliances on the appliance side. After leaving the trades, she moved into consumer product writing, bringing the same methodical, hands-on approach she used to evaluate contractor-grade tools to everyday home gear. At PalmGear, she covers kitchen appliances, home tools, paint and finishing equipment, and cleaning gear.
You can get FREE Gifts. Or latest Free phones here.
Disable Ad block to reveal all the info. Once done, hit a button below