RV Gear ›
RV Slide-Out Troubleshooting: How to Fix Common Problems
by Jake Mercer
What happens when an rv slide out operation fails at exactly the wrong moment — right when the campsite is finally set up and everyone is ready to settle in for the evening? The answer, as our team has found through hands-on research and testing with real RV setups, almost always traces back to a small set of preventable mechanical or electrical problems that most people never think to check in advance. Our team covers the full picture of RV gear at PalmGear's RV gear and accessories hub, and this post digs specifically into how to troubleshoot, maintain, and confidently operate slide out systems so they perform reliably on every single trip.

Contents
The Right Conditions for RV Slide Out Operation
When Extending Makes Perfect Sense
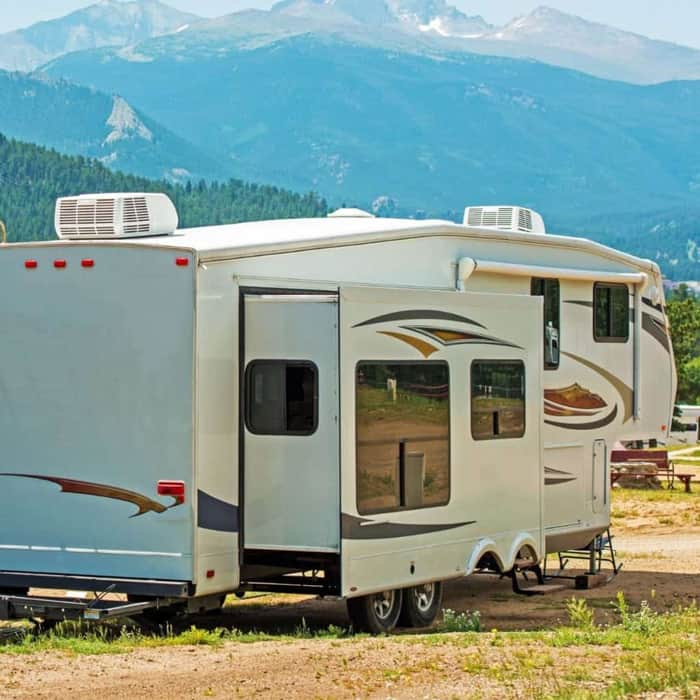
Extending an rv slide out works best when the rig is sitting on reasonably level ground, all wheels are chocked, and the space on both sides is clear of trees, posts, and neighboring vehicles. Our team consistently recommends checking the level indicator — a small bubble gauge mounted inside most rigs — before touching the slide control switch. Even a moderate tilt stresses the slide mechanism and causes binding that worsens with every use, so that thirty-second check prevents a surprising amount of long-term wear. Most RV owners who build a pre-extension routine into their campsite arrival process find that their slides operate quietly and smoothly for many seasons without significant mechanical problems.
Power supply is another factor that most people underestimate when thinking about slide out readiness. Slide out motors draw a meaningful surge of current at the moment they begin moving, and a weak or partially discharged battery bank can cause the motor to stall partway through the extension cycle. Anyone planning to extend slides while boondocking (camping off-grid without shore power) should verify battery charge levels first, keeping them above 12.4 volts for reliable operation throughout the full cycle. For a deeper look at electrical troubleshooting across the whole rig, our team's guide to RV power issues and how to fix them covers the most common failure points in plain language.

When Holding Off Is the Smarter Move
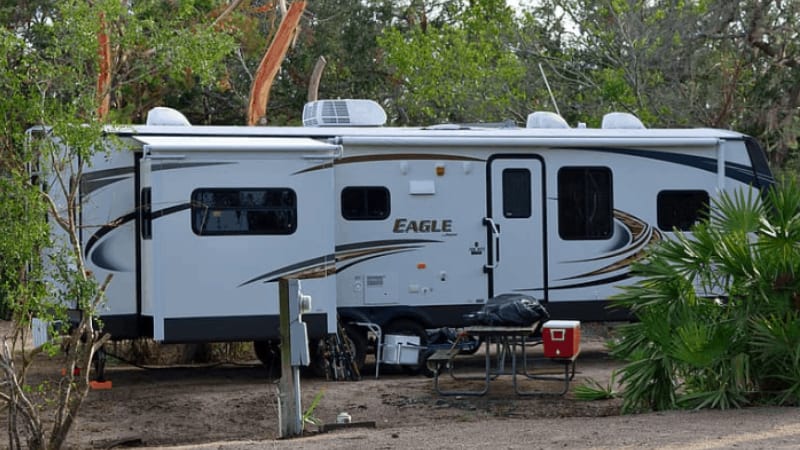
There are real situations where most people are better served by keeping slides fully retracted, even at an established campsite with full hookups. Operating a slide in a tight spot where clearance on either side is less than eighteen inches risks scraping the rig against neighboring coaches or campsite structures, causing cosmetic and structural damage that is expensive to repair. Our team has also reviewed documented cases where sustained winds above thirty miles per hour caused structural stress in extended slide rooms, and where worn perimeter gaskets allowed water to enter during storms that moved in overnight. Leaving slides in while weathering any serious windstorm is a sensible precaution that most experienced RVers adopt after their first rough season on the road.
Real-World Stories From the Campground
A Stalled Extension on Opening Night
Our team spoke with several experienced RV travelers who described a nearly identical situation: arriving at a campground after a long drive, pressing the slide button, and hearing nothing but a faint click or a brief motor hum before everything stops. In most of those cases, the culprit was either a tripped circuit breaker or a blown fuse in the slide out circuit — both of which are simple fixes that anyone with basic electrical familiarity can handle in under ten minutes. Our compiled list of must-have RV accessories includes a mini fuse kit and a circuit tester as core items every rig should carry for exactly these moments.
One seasoned RV owner described arriving at a state park on a Friday evening with a slide that simply would not budge despite adequate battery voltage and intact fuses. The problem turned out to be a small piece of gravel wedged into the slide track — something our team considers one of the most commonly overlooked mechanical causes of resistance in the entire rv slide out operation process. A quick cleaning of the track with a stiff brush resolved the issue in minutes, which is why our team always recommends a track inspection as part of any troubleshooting sequence before moving on to electrical diagnostics.
When Routine Checks Prevented a Bigger Problem
A pattern our team noticed across campground discussions and RV owner forums involves people who caught early warning signals — a slight grinding noise or a noticeably slower extension speed — before the slide failed entirely. Those who acted on those early signals by cleaning and lubricating tracks avoided motor replacements that can run from several hundred to over a thousand dollars at an RV service center. This same principle of catching problems early applies equally to other critical RV systems, including the rubber roof, which benefits from regular inspection to prevent water damage that compounds quickly when left unaddressed for more than one season.
Essential Tools for RV Slide Out Maintenance
Hand Tools and Supplies Every Owner Should Carry
Reliable rv slide out operation starts with having the right tools on board, and our team recommends building a compact maintenance kit that addresses the majority of common issues without requiring a service appointment. A multimeter is arguably the single most valuable item in that kit. It measures electrical voltage and circuit continuity, confirming within seconds whether power is reaching the slide motor and whether the control switch is functioning correctly — which rules out the most common failures before any mechanical disassembly begins.
Our team's standing practice before any motor replacement: verify voltage directly at the slide motor terminals first — most cases that present as a dead motor turn out to be a blown fuse or a low battery in disguise.
| Tool or Supply | Purpose | Approximate Cost |
|---|---|---|
| Digital Multimeter | Check voltage and continuity at motor and switch terminals | $15–$40 |
| Dry Lithium Grease Spray | Lubricate slide tracks and rollers without attracting debris | $8–$20 |
| Rubber Seal Conditioner | Keep perimeter wiper seals pliable and water-resistant | $10–$18 |
| Torque Wrench | Tighten motor mounting bolts to manufacturer specification | $25–$60 |
| Fuse Assortment Kit | Replace blown fuses in the slide out electrical circuit | $10–$15 |
| Stiff Nylon Track Brush | Clear debris and old grease buildup from slide track channels | $5–$12 |
Diagnostic Equipment for Deeper Troubleshooting
Beyond the basic hand tools, a slide out motor load tester — a device that measures how much current the motor draws under a working load — helps distinguish between a failing motor and a mechanical binding problem in the slide mechanism itself. When current draw is abnormally high relative to the motor's rated amperage (typically printed on a label attached to the motor housing), that reading points toward mechanical resistance rather than an electrical fault, which changes the repair strategy entirely. According to Wikipedia's overview of recreational vehicles, modern RVs include increasingly complex electromechanical systems, and systematic diagnostic approaches produce faster and more accurate results than trial-and-error part replacement for most owners.
Tips That Keep Slide Outs Moving Freely
Lubrication Frequency and Product Selection
The single most effective preventive measure for smooth rv slide out operation is a consistent lubrication schedule, and our team recommends applying dry lithium-based grease spray to slide tracks and rollers at minimum every three months during active camping seasons. Petroleum-based products like WD-40 are a common and well-intentioned mistake that many first-time RV owners make — they loosen stiff mechanisms quickly in the moment, but they attract dust and road grime over time, forming a gritty paste in the tracks that actually accelerates wear faster than no lubricant at all. Dry lithium spray, by contrast, leaves a clean protective film that repels debris and stays effective for months between applications without any buildup.
Rubber seal conditioner deserves equal attention, and our team applies it to the perimeter wiper seals every time the rig is washed, which keeps the rubber supple and prevents the cracking and shrinkage that leads to water intrusion around extended slide rooms. Anyone managing electrical system health alongside mechanical upkeep will find our team's comparison of RV EMS versus surge protectors helpful — that piece explains which device offers better protection against the voltage spikes that can damage the sensitive motor controllers found in modern slide out systems.
Dry lithium grease and rubber seal conditioner together cost under thirty dollars and take about twenty minutes to apply — our team considers that combination the most cost-effective maintenance routine in all of RV ownership.
Electrical Check Habits Before Every Extension
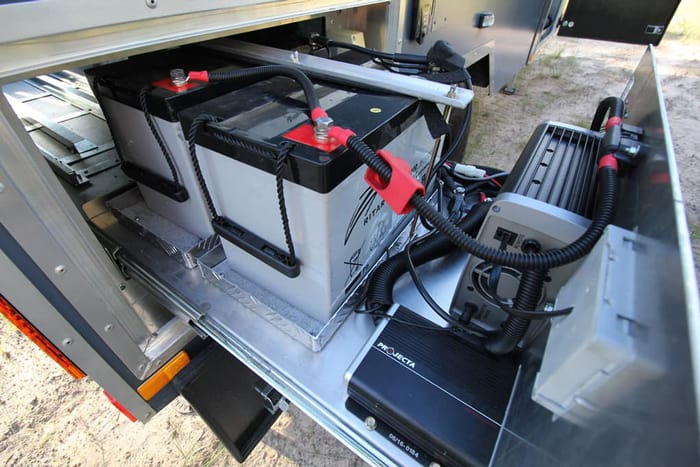
Before extending or retracting a slide, most experienced RV owners develop a quick habit of glancing at the battery monitor or shore power indicator to confirm adequate voltage, and our team considers this a thirty-second check that prevents the most common cause of mid-cycle motor stalls. When running on battery power alone, keeping the battery bank above 12.2 volts during slide operations ensures the motor receives consistent current through the full extension or retraction cycle. Dropping below that threshold can trigger the low-voltage cutoff that many modern slide controllers include as a built-in motor protection feature, leaving the room stranded partway open or closed at an inconvenient time.
Building a Long-Term Slide Out Care Plan
Seasonal Inspection Intervals
Most people who own RVs across multiple seasons find that a twice-yearly deep inspection — once before the camping season opens and once before winterizing — catches the majority of slide out problems before they escalate into costly repairs. Our team suggests organizing these inspections around a structured checklist that covers the slide motor mounting bolts, which can work loose from highway vibration over a full travel season. The wiring harness deserves a check for chafe marks where cables run near moving slide components. The floor wiper seal — the large rubber strip that sweeps the interior floor as the room travels in and out — should also be examined closely for tears or compression gaps that allow cold air or moisture to enter.
Keeping a simple logbook stored in the rig with notes from each inspection makes it easier to spot gradual trends like slower extension speeds or rising current draw readings across multiple trips. Our team reviewed how maintenance budgeting fits into broader RV ownership planning in the RV park income and expenses overview, which touches on the financial side of keeping a rig in reliable working condition over the long term.
Recognizing When Professional Service Is the Right Call
There are clear limits to what most people can address with hand tools and a multimeter, and our team believes in being straightforward about those limits rather than encouraging repairs that could make problems worse. A slide room that sits noticeably lower on one side when fully extended indicates a synchronization problem in the slide mechanism that typically requires recalibration using manufacturer-specific tools and software. Hydraulic slide systems, found on larger fifth-wheel trailers and Class A motorhomes, involve pressurized fluid lines that our team would not recommend opening without professional training, since improper handling risks seal damage and hazardous fluid exposure that can compound the original repair cost significantly.
Common Use Cases and Troubleshooting Scenarios
Slide Out Refuses to Retract Before Departure
A slide that refuses to retract at departure time is arguably the most stressful scenario in all of rv slide out operation, because it occurs precisely when most people have a schedule to meet and the pressure to move is highest. The first step our team recommends is verifying that the coach battery or shore power connection is providing adequate voltage — low voltage accounts for a surprisingly high percentage of "won't retract" service calls that RV technicians receive. After confirming adequate power, checking the slide out's manual override mechanism is the logical next step. Nearly every slide system includes a manual crank or bypass that allows the room to be retracted by hand when the motor cannot complete the job automatically, and this provision exists specifically for departure emergencies when a remote service call is not practical.
Unusual Sounds During Operation
A grinding noise during rv slide out operation almost always indicates either debris in the slide tracks or insufficient lubrication on the rollers, and cleaning and re-lubricating the tracks resolves the issue in the majority of cases our team has researched. A rhythmic clicking or popping sound during movement suggests a worn or chipped gear inside the mechanism's gearbox, which is a more involved repair that usually requires removing the motor assembly to inspect gear teeth for wear or fracturing. A high-pitched whining that grows louder as the slide moves typically indicates that the motor is working harder than it should, usually due to mechanical resistance somewhere in the track system — addressing the root cause of that resistance before the motor burns out from repeated overloading is the most cost-effective path forward for most RV owners.
Frequently Asked Questions
How often should RV slide out tracks be lubricated?
Most RV manufacturers and experienced technicians recommend lubricating slide tracks every three months during active use, or at least twice per camping season. Our team favors dry lithium-based grease spray for this task because it leaves a clean, debris-resistant film rather than attracting the dust and grit that petroleum-based products tend to accumulate over time, which can actually accelerate wear in slide tracks and rollers.
Can slide outs be operated safely when running only on battery power?
Slide outs can be operated on battery power alone, but most people get the best results when battery voltage is above 12.4 volts before starting the cycle. Batteries below that threshold may not sustain the current draw needed for a complete extension or retraction, which can cause the motor to stall mid-cycle and sometimes trigger the controller's low-voltage protection circuit, leaving the slide room partially open in an awkward position.
What does it mean when a slide moves slowly but the motor sounds normal?
Slow movement paired with a normal-sounding motor usually indicates mechanical resistance in the slide tracks or rollers rather than an electrical problem. Our team's first recommendation is to clean the tracks thoroughly with a stiff brush to remove accumulated debris and old grease, then apply fresh dry lithium spray — in many cases this alone restores normal extension speed. If the problem persists after lubrication, inspecting the rollers and checking motor mounting bolt tightness are the logical next steps before calling a technician.
Mastering rv slide out operation comes down to one discipline: consistent preventive care before every trip, not emergency repairs after something breaks at the worst possible moment.


About Jake Mercer
Jake Mercer spent twelve years behind the wheel as a long-haul trucker, covering routes across the continental United States and logging well over a million miles. That career gave him an unusually thorough education in CB radio equipment — he has tested base station antennas, magnetic mounts, coax cables, and handheld units in real-world conditions where reliable communication actually matters. After leaving trucking, Jake transitioned to full-time RV travel and has since put hundreds of RV accessories through their paces across national parks, boondocking sites, and full-hookup campgrounds from Montana to Florida. At PalmGear, he covers RV gear and accessories, CB radios, shortwave receivers, and handheld radio equipment.
You can get FREE Gifts. Or latest Free phones here.
Disable Ad block to reveal all the info. Once done, hit a button below