How To Clean Every Type of Utility Sink?
by Sandra Holt
To clean every type of utility sink, match your cleaning agent to your sink's material, apply consistent mechanical scrubbing, and rinse completely. Use the wrong product on the wrong surface and you replace a dirty sink with a permanently damaged one. Material-specific chemistry is the single most critical factor in utility sink maintenance — everything else follows from that.
Utility sinks absorb the harshest abuse in any home. Paint, grease, soil, chemical runoff — all of it lands here. Because these sinks span laundry rooms, garages, craft spaces, and home appliances workrooms, the cleaning approach must shift depending on the material and the type of contamination. This guide covers every major sink type and every significant category of grime, so you can work efficiently and confidently without risking the surface beneath your hands.

Contents
- The Right Time to Clean Your Utility Sink — and When to Hold Off
- Utility Sink Materials Compared: What You Are Working With
- Cleaning Myths That Damage Your Utility Sink
- From Basic Rinse to Deep Scrub: Matching Method to Your Skill Level
- What It Actually Costs to Keep Your Utility Sink Clean
- Long-Term Maintenance for a Sink That Stays Clean
- The Trade-Offs of Every Major Cleaning Approach
- Frequently Asked Questions
The Right Time to Clean Your Utility Sink — and When to Hold Off
Knowing when your utility sink genuinely needs cleaning — versus when a quick rinse is sufficient — prevents both under-maintenance and unnecessary chemical exposure. The right timing protects the sink surface and extends its functional lifespan.
Signs That Demand Immediate Attention
Clean your utility sink immediately when you observe any of the following: standing water that drains slowly, indicating developing clogs from accumulated debris; visible mineral deposits forming a white or greenish crust around the basin rim or drain; paint or adhesive residue left to harden after a craft or repair project; and biological growth — mildew or mold — appearing along the seams, corners, or beneath the drain stopper. Each of these conditions worsens rapidly if ignored. Paint that is soft today will be chemically bonded to the surface by tomorrow. Mildew that looks minor will spread across grout lines and behind fixtures within a week.
Hard water buildup also accelerates corrosion on metal components. If your home relies on well water or unfiltered municipal supply, mineral deposits accumulate faster than in treated systems. Refer to resources like this guide on water filtration for background on how water quality affects surfaces and fixtures over time.
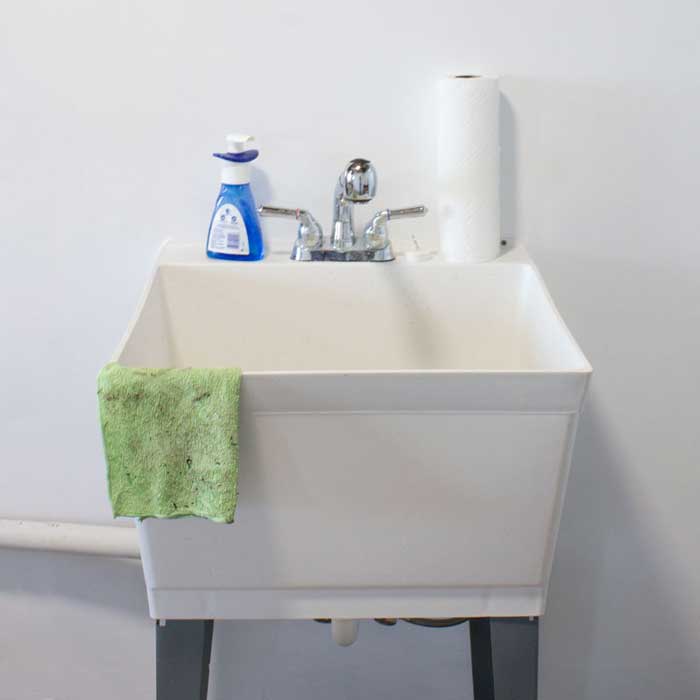
When a Full Clean Can Wait
If your sink received only clear water use — rinsing brushes, washing hands, filling buckets — a full cleaning is not necessary every time. A brief flush with warm water and a wipe-down of the basin is sufficient for light daily use. Reserve deep cleaning for visible soiling or the scheduled weekly maintenance routine described later in this guide. Over-cleaning with harsh chemicals accelerates surface wear unnecessarily, particularly on acrylic and fiberglass basins that depend on their protective top coat remaining intact.
Utility Sink Materials Compared: What You Are Working With
Before you learn how to clean every type of utility sink, you must know what your sink is made of. The material determines which cleaners are safe, which are destructive, and which scrubbing tools are appropriate. Using the wrong combination is the most common cause of sink damage.
Stainless Steel
Stainless steel is the dominant material in commercial and heavy-use residential utility sinks. It resists corrosion well, tolerates high temperatures, and is nonporous — meaning bacteria and mold cannot embed themselves beneath the surface. However, it scratches visibly if you use abrasive pads or powders. Always scrub in the direction of the grain. Chlorine bleach causes pitting on stainless steel — avoid it entirely on this material.
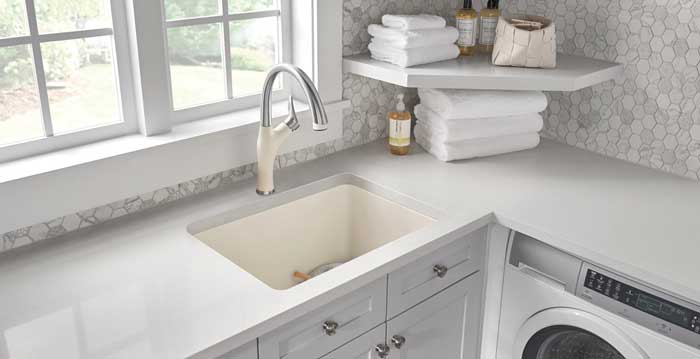
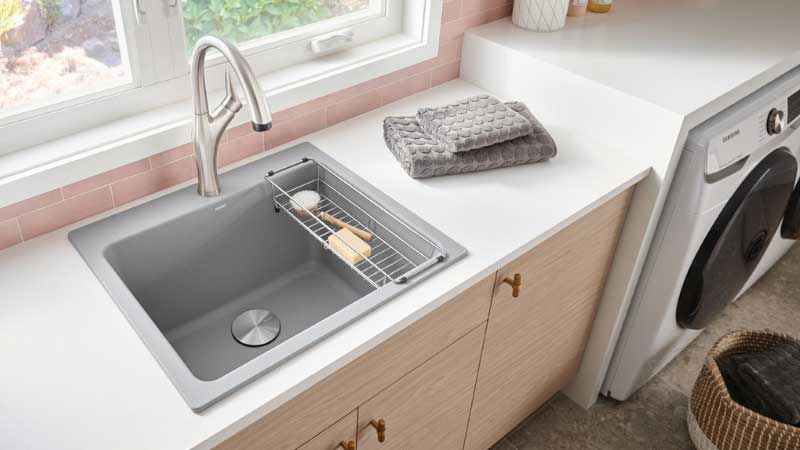
Acrylic and Fiberglass
Acrylic and fiberglass utility sinks are lightweight and inexpensive, which makes them common in laundry rooms and budget utility installations. They are also the most chemically sensitive. Acetone, harsh solvents, and abrasive cleaners will scratch and cloud the surface permanently. Stick to mild dish soap, baking soda paste, or diluted white vinegar. Never use steel wool or scouring powders on these materials.
Cast Iron and Porcelain
Cast iron sinks coated with porcelain enamel offer excellent durability and a smooth, nonporous surface, but the enamel is vulnerable to chipping if struck with heavy objects and to staining if acidic substances are left to sit. Clean with non-abrasive powder cleaners or baking soda. Avoid strong acids on porcelain — they dissolve the enamel finish over time. The table below summarizes the compatibility of common cleaning agents across these three material types.
| Cleaning Agent | Stainless Steel | Acrylic / Fiberglass | Cast Iron / Porcelain |
|---|---|---|---|
| Mild dish soap + warm water | Safe — recommended for routine use | Safe — best daily option | Safe — ideal for routine maintenance |
| White vinegar (diluted) | Safe — removes hard water deposits | Safe — use diluted, brief contact | Use cautiously — limit contact time |
| Baking soda paste | Safe — light abrasion, grain-direction only | Safe — gentle on surface coat | Safe — effective on stains |
| Chlorine bleach | Damaging — causes pitting and corrosion | Damaging — discolors and weakens surface | Use sparingly, diluted, short contact |
| Abrasive scouring powder | Damaging — leaves visible scratches | Damaging — removes protective coat | Use only non-abrasive formulations |
| WD-40 | Effective for rust spots | Not recommended | Effective for rust at enamel chips |
| Acetone / paint thinner | Safe for paint removal, rinse immediately | Damaging — causes permanent cloudiness | Use very sparingly, rinse immediately |
Cleaning Myths That Damage Your Utility Sink
Misinformation about utility sink cleaning circulates widely, and acting on it causes real harm to surfaces. Two myths in particular account for the majority of DIY cleaning damage.
The Bleach-on-Everything Myth
Bleach is not a universal cleaner. It is a disinfectant with specific chemical properties, and those properties are incompatible with stainless steel and acrylic. On stainless steel, the chlorine ions attack the protective chromium oxide layer, producing visible pitting and rust — the exact corrosion the material was designed to resist. On acrylic, bleach causes yellowing and surface brittleness that no amount of polishing reverses.
The chemistry of sodium hypochlorite makes clear why it reacts aggressively with metals and certain polymers. Reserve bleach for porcelain-enameled cast iron, and even then, dilute it to one part bleach per ten parts water, limit contact to five minutes, and rinse immediately and thoroughly. Never combine bleach with vinegar or ammonia-based cleaners — the resulting fumes are genuinely hazardous.
Warning: Mixing bleach with vinegar or any ammonia-based cleaner produces chlorine gas — ventilate the space completely and never combine these products in the same basin.
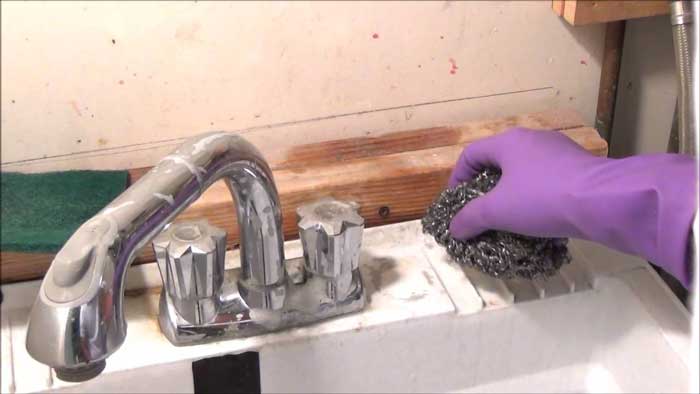
The Harder-You-Scrub Myth
More pressure and a coarser pad does not mean a cleaner sink. It means a scratched sink. Microscopic scratches on stainless steel create grooves where bacteria and mineral deposits accumulate faster than on a smooth surface. On acrylic, abrasion removes the gel coat that provides both the shine and the chemical resistance. Once that coat is gone, you cannot restore it without professional resurfacing. The correct approach is longer dwell time for your cleaning agent — let the chemistry do the work before you scrub — combined with a soft-bristled brush or non-scratch sponge.
From Basic Rinse to Deep Scrub: Matching Method to Your Skill Level
Cleaning a utility sink does not require specialized training, but it does require following a deliberate sequence. Skipping steps — particularly rinsing before scrubbing or neutralizing before rinsing — produces substandard results and can trap chemical residues on the surface.
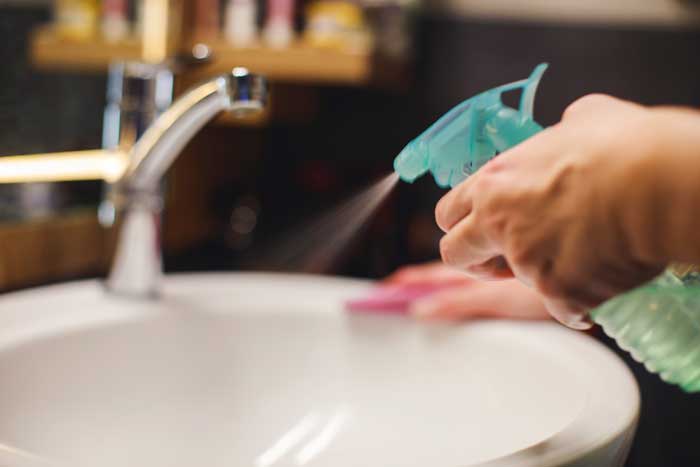
The Beginner Approach
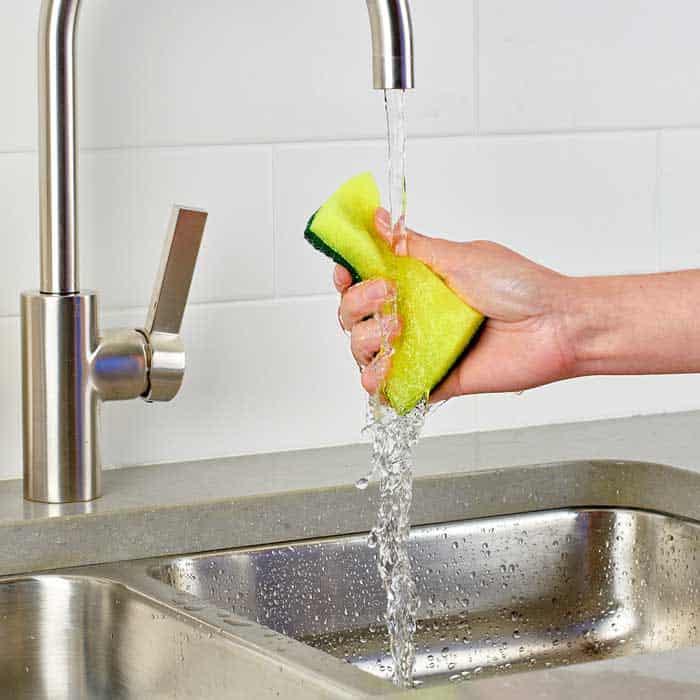
For routine weekly maintenance on any sink material, this sequence is reliable and safe. Begin by removing all loose debris — brushes, sponges, drain covers — and rinsing the basin with warm water. Apply a spray of diluted white vinegar across the entire basin surface and allow it to dwell for five minutes. Vinegar dissolves mineral deposits, neutralizes odors, and softens soap scum without harming any of the three primary sink materials when used in diluted form.
After the dwell period, scrub the basin with a soft-bristled brush, working in circular motions on porcelain or with the grain on stainless steel. Pay particular attention to the corners, the drain surround, and the underside of the rim where residue accumulates invisibly.
For stubborn soap scum or mineral buildup, apply baking soda directly over the vinegar-treated surface and allow the chemical reaction to work for two minutes before scrubbing. This combination is effective without being abrasive.
Finish by rinsing the entire basin with clean, cold water. Hot water can fix soap residue to certain surfaces. Cold water rinses clean and leaves no film.
Advanced Techniques for Stubborn Problems
Paint removal, rust elimination, and deep grease extraction require more targeted approaches. For latex paint residue — common if you use your sink for cleaning brushes after home improvement projects — act before the paint cures. Warm water and a stiff-bristled brush are sufficient while the paint is still wet. Dried latex paint on stainless steel responds to a plastic scraper followed by a rubbing alcohol wipe. On acrylic, avoid scrapers entirely; use a cloth soaked in warm water to soften the paint before gentle rubbing.
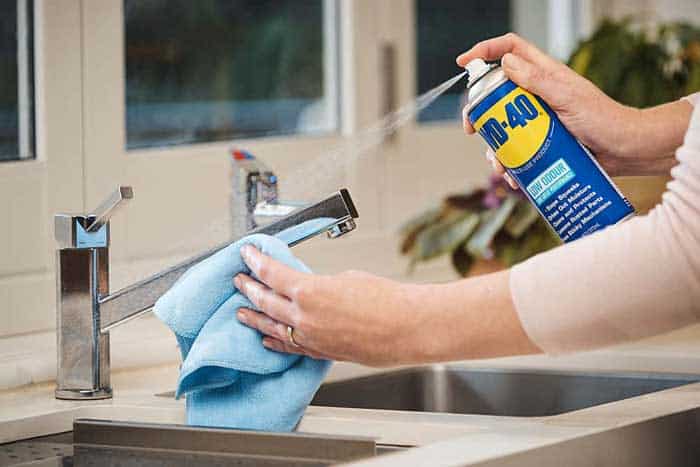
For surface rust on stainless steel, WD-40 is highly effective. Spray directly onto the rust spot, allow it to penetrate for ten minutes, then wipe away with a clean cloth. The lubricant lifts the oxidized particles from the surface without scratching. Follow with a soap-and-water wash to remove the WD-40 residue before it attracts dirt.
For heavy grease contamination — automotive grease, cooking oil spills, or adhesive residue — apply a degreasing dish soap undiluted and work it into the surface with a scouring sponge rated for your sink material. On stainless steel and porcelain, a scouring sponge is appropriate for this level of soiling. On acrylic, always substitute a non-scratch sponge regardless of the grime severity.
Drain maintenance belongs in the advanced category as well. Slow drainage signals a developing clog, not a surface cleaning problem. Pour 125 ml of baking soda directly into the drain, follow with 250 ml of white vinegar, and allow the reaction to work for fifteen minutes before flushing with boiling water. This clears organic buildup without the pipe-degrading effects of chemical drain cleaners. Just as you would address root causes in a dryer vent cleaning task rather than masking the symptom, address drain flow at the source rather than forcing water through a narrowing passage.
What It Actually Costs to Keep Your Utility Sink Clean
Cleaning a utility sink does not require significant financial investment. The choice is between natural DIY solutions and commercial specialty products, each with a distinct cost profile and performance ceiling.
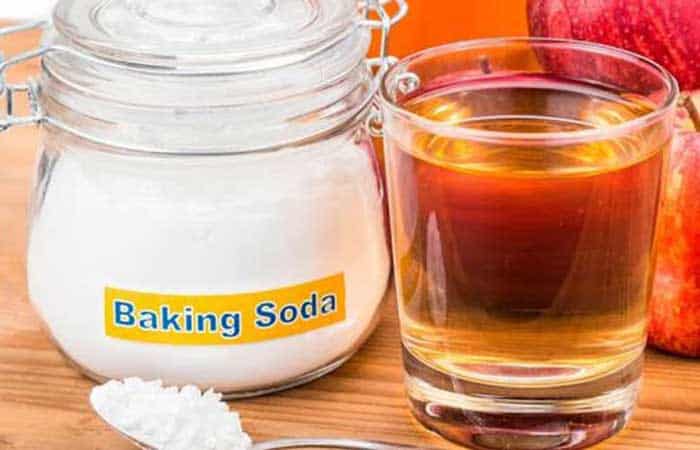
DIY Natural Cleaners
White vinegar, baking soda, and mild dish soap form the core of an effective DIY cleaning kit. Combined, these three products cost under ten dollars and last months of regular use. Vinegar handles mineral deposits and odors. Baking soda provides gentle mechanical action and odor neutralization. Dish soap emulsifies grease. For the majority of utility sink cleaning tasks — routine maintenance, light staining, mineral deposits, and drain maintenance — this combination performs as well as commercial alternatives on stainless steel and acrylic surfaces. The limitation is heavy rust, deep grease saturation, and old oil-based paint residue, where DIY solutions lose effectiveness quickly.
Commercial and Specialty Products
Commercial utility sink cleaners range from general-purpose products like Bar Keepers Friend (approximately eight dollars for a 500g can) to specialty rust removers and enzyme-based drain treatments (fifteen to thirty dollars per bottle). These products justify their cost only for specific, stubborn problems. Bar Keepers Friend excels on stainless steel and porcelain, removing rust and mineral staining with minimal scrubbing effort. Enzyme drain cleaners are worth the investment for sinks that receive organic waste regularly, as they eliminate odor at the biological source rather than masking it. Budget for standard supplies — vinegar, baking soda, dish soap — and keep one commercial product on hand for the problems that require it.
Pro tip: Buy Bar Keepers Friend in powder form rather than liquid — the powder formulation provides better mechanical action and costs significantly less per cleaning session than the pre-mixed spray.
Long-Term Maintenance for a Sink That Stays Clean
Consistent maintenance prevents the buildup that makes deep cleaning necessary. A disciplined routine requires less total effort than periodic intensive sessions and causes far less cumulative wear on the sink surface.
Weekly Habits
Every week, complete the vinegar spray, soft-brush scrub, and cold rinse sequence described in the beginner approach section. This takes under ten minutes and prevents mineral deposits from calcifying, grease from polymerizing, and biological growth from establishing in seams and corners. After each use, wipe the basin dry with a clean cloth. Standing water is the single greatest contributor to staining and mineral buildup regardless of sink material. The additional thirty seconds of drying after each use eliminates most of the mineral deposit problem entirely.
Similarly, managing what enters the drain proactively reduces maintenance demands. Use a mesh drain strainer to catch debris — hair, paint chips, food particles — before they enter the drain system. This is the same principle underlying good preventive maintenance in any water-dependent system, much like protecting an RV water pump from debris ingestion by filtering the supply line.
Monthly Deep Cleaning
Once a month, clean the drain interior using the baking soda and vinegar flush described previously. Also clean the faucet aerator — unscrew it, soak it in vinegar for fifteen minutes to dissolve mineral buildup, and reinstall. Inspect the caulk or sealant lines where the sink meets the wall or countertop. Compromised sealant allows water to infiltrate the substrate behind the wall, causing structural damage that far exceeds the cost of a routine recaulking. If the sealant shows cracks, discoloration, or separation, replace it promptly. This level of attention to detail is what separates a sink that lasts decades from one that deteriorates within a few years.
The Trade-Offs of Every Major Cleaning Approach
No single cleaning approach is optimal for every situation. Understanding the trade-offs allows you to select the right method for each specific task rather than defaulting to one approach for everything.
Natural vs. Chemical Cleaners
Natural cleaners — vinegar, baking soda, lemon juice — are safe for all sink materials, low in cost, and present minimal health risks during use. Their limitation is potency. They will not remove old oil-based paint, heavy rust, or deeply embedded grease without extensive contact time and repeated application. Chemical cleaners work faster and more reliably on severe contamination, but they carry material compatibility risks, require careful ventilation, and are substantially more expensive per cleaning session. The correct position is not to prefer one category universally but to use natural cleaners for routine maintenance and reserve chemical products for problems that genuinely require them.
Manual vs. Mechanical Scrubbing
Manual scrubbing with a brush or sponge offers complete control over pressure and direction, which is critical when working around vulnerable surfaces like acrylic or porcelain edges. It is also slower and more labor-intensive for large utility sinks. Electric scrubbing tools — rotary brushes, oscillating pads — speed up the process significantly on stainless steel but create real risk of over-abrasion on softer materials if the operator is not careful about pad selection and pressure. For most homeowners, manual tools with proper technique deliver better results than power tools used carelessly. If you use mechanical tools, reduce pressure by at least half what feels intuitive — utility sink surfaces require far less force than the effort instinct suggests.
Frequently Asked Questions
How often should you clean a utility sink?
Clean your utility sink thoroughly once per week for normal use. If your sink handles paint, chemicals, or heavy grease regularly, increase the frequency to every three to four days. After each individual use, wipe the basin dry to prevent mineral deposits from forming between full cleaning sessions.
Can you use bleach on a stainless steel utility sink?
No. Bleach attacks the chromium oxide layer that gives stainless steel its corrosion resistance, producing pitting and rust spots that are permanent. Use white vinegar for disinfecting stainless steel utility sinks. It is equally effective against bacteria and completely safe for the material.
What is the best way to remove dried paint from a utility sink?
For dried latex paint on stainless steel or porcelain, use a plastic scraper at a low angle to lift the bulk of the deposit, then apply rubbing alcohol with a cloth to remove the residue. On acrylic sinks, skip the scraper entirely — soak the area with warm water and a cloth for fifteen to twenty minutes to soften the paint before rubbing gently. Never use acetone on acrylic.
How do you remove hard water stains from a utility sink?
Spray undiluted white vinegar directly onto the mineral deposits and allow it to dwell for ten to fifteen minutes. The acetic acid dissolves calcium and magnesium carbonate deposits without damaging any standard sink material. For heavy buildup, apply a baking soda paste over the vinegar and scrub after the fizzing subsides. Rinse completely with cold water.
Is it safe to pour boiling water down a utility sink drain?
Boiling water is safe for metal drain pipes and works effectively to dissolve grease and flush organic debris. However, avoid boiling water if your drain pipes are PVC — temperatures above 60°C can soften and warp PVC pipe joints over time. Use very hot tap water instead, which achieves most of the same effect without the temperature risk.
The material under your hands determines everything — choose the right cleaner for the right surface, and the sink will outlast the house it sits in.


About Sandra Holt
Sandra Holt spent eight years as a project manager for a residential renovation company in Portland, Oregon, overseeing kitchen and bathroom remodels from initial estimate through final walkthrough. That work exposed her to an unusually wide range of home equipment — from HVLP spray guns and paint sprayers on the tools side to range hoods, kitchen faucets, and countertop appliances on the appliance side. After leaving the trades, she moved into consumer product writing, bringing the same methodical, hands-on approach she used to evaluate contractor-grade tools to everyday home gear. At PalmGear, she covers kitchen appliances, home tools, paint and finishing equipment, and cleaning gear.
You can get FREE Gifts. Or latest Free phones here.
Disable Ad block to reveal all the info. Once done, hit a button below