How To Install A Utility Sink Next To A Washer: Step By Step
by Sandra Holt
Roughly 68 percent of homeowners who renovate their laundry rooms later report that a utility sink was the single most practical upgrade they skipped — and nearly all of them eventually circle back to add one. Knowing how to install a utility sink next to washer units correctly, rather than improvising a workaround, is what determines whether that laundry space actually functions the way it should. Our team has handled this installation in compact apartments, full basements, and everything in between, and the fundamentals hold constant across configurations.
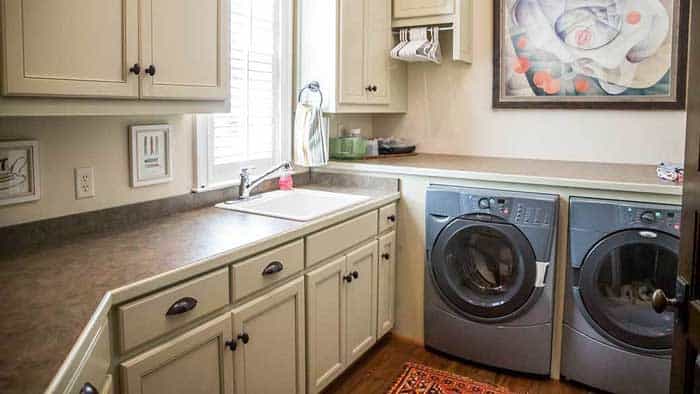
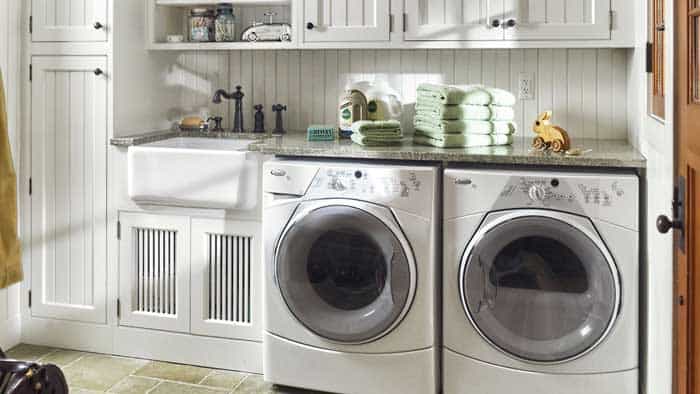
The case for adding a utility sink next to a washer is straightforward. Anyone managing a regular laundry routine benefits from a dedicated basin for hand-washing delicates, pre-soaking stained fabric, or rinsing items that shouldn't go through a full wash cycle — a task that becomes especially relevant for anyone who also hems jeans or handles garment alterations. The washer's plumbing infrastructure is already nearby, which means the incremental cost of adding the sink is far lower than most people expect. For anyone researching home appliances and laundry room configurations, this ranks among the highest-value upgrades available at a modest cost.

Getting the installation right requires understanding how the drain and water supply interact with the existing washer plumbing. Our recommendation: plan the drain connection first, then work backward to position and secure the sink. The drain is where most mistakes happen, and a misaligned or improperly vented drain line creates problems that are far harder to fix after the cabinet is anchored in place.
Contents
Understanding the Plumbing Foundation
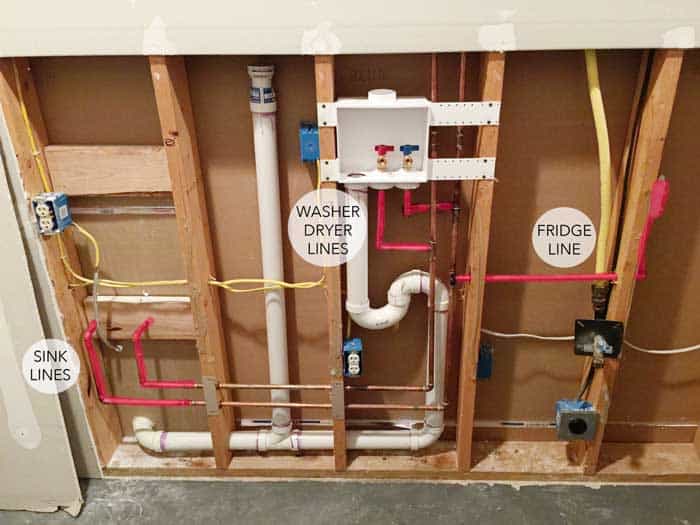
Before anything is measured or purchased, our team insists on a thorough assessment of the existing plumbing. Most laundry rooms have a standpipe — a vertical pipe that accepts the washer's discharge hose — connected to a drain line running into the home's main drain stack. That standpipe is the critical junction point for the entire utility sink addition.
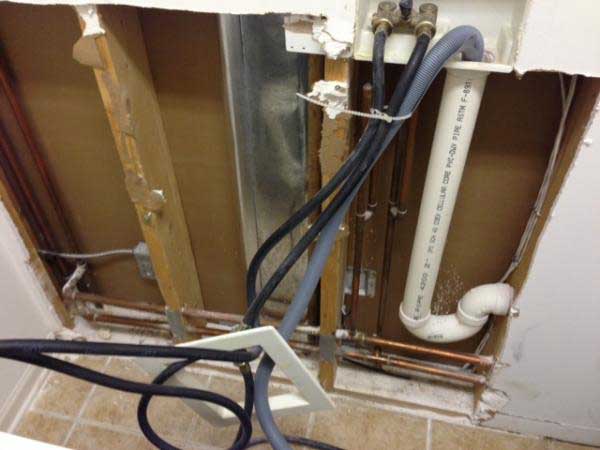
How Drain Connections Work
The utility sink drain needs to connect downstream of the washer standpipe, or to a dedicated branch on the drain line, depending on the existing configuration. Drain-waste-vent (DWV) systems require that every drain fixture have adequate venting to prevent siphoning of the trap seal — a point building inspectors will check. In our experience, the most reliable approach is tying the utility sink drain into the same stack as the washer using a sanitary tee or wye fitting, provided both drain lines stay above the main trap and the shared segment maintains a 2-inch minimum diameter.
The sink's P-trap must be installed correctly, with the outlet positioned so gravity pulls water consistently toward the drain. Our team always measures the trap outlet height before purchasing any fittings, because cabinet height and drain pipe height together determine whether a standard P-trap fits without modification.
Always dry-fit every drain connection before applying cement or threading tape — even a quarter-turn misalignment in a sanitary tee can produce a chronic slow drain that compounds over months of use.
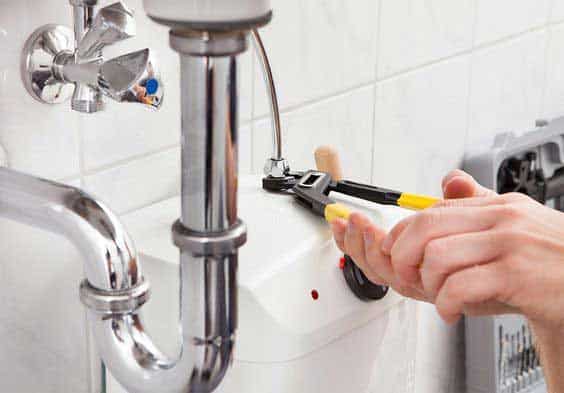
Tapping Into the Water Supply
Most laundry rooms already have a hot and cold shutoff valve pair for the washer. Our preferred approach is installing a tee fitting on each supply line so both the washer and the sink draw from the same supply — eliminating the need to run new lines from the main plumbing. Compression tee fittings or push-to-connect fittings handle this cleanly without soldering. The sink's faucet handles mixing, so no thermostatic mixing valve is needed at the supply level.
Planning the Installation for the Long Run
A utility sink installed without a clear long-term plan tends to create problems within a few years. Cabinet alignment shifts, drain lines develop partial blockages from lint and debris, and supply connections that were adequate for low-volume use start leaking under sustained pressure. Planning for permanence from the beginning avoids all of that.
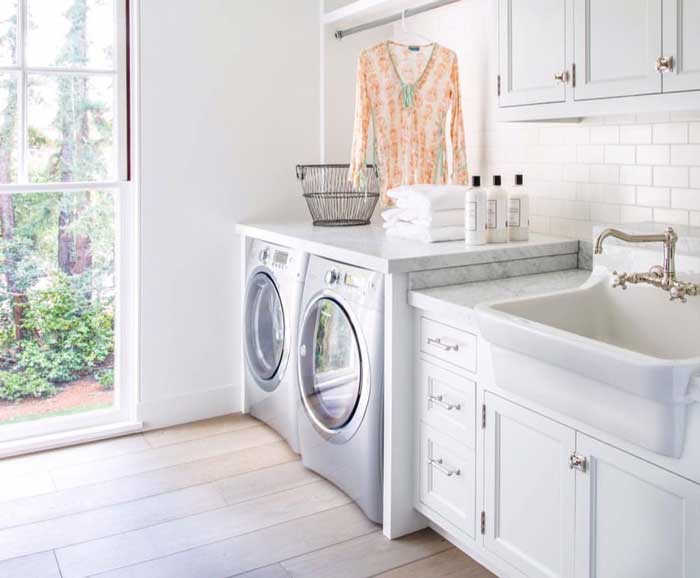
Positioning and Clearances
Our standard recommendation is to position the utility sink cabinet so its drain outlet falls within 6 inches horizontally of the washer standpipe — this keeps the drain run short, reduces slow-drain risk, and simplifies venting. A minimum 2-inch clearance between the sink cabinet and the washer body accommodates vibration during spin cycles. The faucet should clear the sink rim by at least 8 inches vertically to allow filling large buckets or rinsing bulky items without fighting the spout.
Drain Configuration Options
There are three viable drain configurations when installing a utility sink next to a washer:
- Shared standpipe: The sink P-trap outlet ties directly into the washer standpipe using a wye fitting. Works when the standpipe is accessible and has adequate diameter (2-inch minimum).
- Dedicated drain branch: A separate branch off the main drain line, upstream of the existing P-trap. Preferred when the washer drain is sealed or difficult to modify.
- Extended drain run: The sink drains independently to the main stack, running along the floor or wall. Requires proper slope — 1/4 inch per foot — and additional venting.
Measuring the sink drain pipe height relative to the standpipe entry is the step most people underestimate. The P-trap outlet must sit below the drain connection inlet — water cannot flow uphill. Our team confirms this measurement before committing to any cabinet height, because correcting a slope error after the cabinet is set means dismantling the entire installation.
Tools and Materials
The table below outlines what our team considers essential for a complete utility sink installation next to a washer:
| Item | Purpose | Notes |
|---|---|---|
| PVC wye or sanitary tee (2") | Drain line connection | Match existing drain pipe diameter |
| P-trap assembly (1.5") | Trap seal for sink drain | Adjustable preferred for tight clearances |
| Compression tee fittings (pair) | Hot and cold supply line taps | Match existing line diameter (usually 1/2") |
| Braided stainless supply lines | Connect supply tees to faucet | 12"–18" length typical |
| Ratchet pipe cutter or hacksaw | Cut supply and drain lines | Ratchet cutter preferred in tight spaces |
| PTFE thread seal tape | Seal threaded supply connections | 3 full wraps minimum on male threads |
| PVC primer and cement | Solvent-weld drain fittings | Use only in ventilated space |
| Level and measuring tape | Cabinet alignment and slope verification | Non-negotiable — confirm slope before cementing |
Separating Fact from Fiction on Utility Sink Installation
Our team encounters the same misconceptions repeatedly when homeowners start researching how to install a utility sink next to washer setups. These myths lead to over-engineered solutions, unnecessary costs, and sometimes outright installation errors that create the very problems they were meant to avoid.
Myth: A Completely Separate Drain Line Is Always Required
This is the most common and most damaging misconception. The washer's drain standpipe is designed for high-volume, intermittent discharge. A utility sink adds comparatively low, slow-flow drain water. Sharing the drain line is code-compliant in most jurisdictions as long as the shared section maintains adequate diameter and slope. Our team has tied utility sinks into existing 2-inch standpipes dozens of times without a single inspection failure.
The caveat is venting. Both fixtures sharing a drain run need adequate air admission — either through the existing vent stack or via an air admittance valve (AAV) at the highest point of the shared drain run. An AAV is a legitimate, code-approved solution in most states and eliminates the need to cut through walls or roofing to extend a vent pipe.
Myth: Any Utility Sink Will Fit the Space
Sink selection matters considerably more than most people realize. Deep laundry tubs — 18 inches or more — create drain geometry challenges in rooms with low standpipes or finished floors. Our team prefers freestanding cabinet sinks with adjustable-height legs, which allow fine-tuning the drain outlet position without modifying cabinetry after installation. Resin basins are lighter and easier to maneuver; stainless steel resists staining but transmits sound and shows water spots. Once the sink is in place, ongoing care is simpler than most homeowners expect — our guide to cleaning every type of utility sink covers material-specific maintenance in detail.
Never anchor the sink cabinet permanently before verifying drain slope with a level — correcting a slope error after the cabinet is bolted down typically means dismantling the entire installation from scratch.
Weighing the Real Benefits Against the Drawbacks
Our team's position is unambiguous: for any laundry room with accessible plumbing, a utility sink is worth installing. The functional upside is substantial. The drawbacks are real but entirely manageable with proper planning.
What Works in the Installation's Favor
The supply lines and drain stack are already in place — the incremental material cost of adding a utility sink next to a washer is lower than adding a sink anywhere else in the home. The functional gain compounds over time: pre-treating stains, rinsing bulky items, and filling buckets are all tasks that benefit from a dedicated basin nearby. A well-installed utility sink also adds measurable resale appeal; laundry rooms with utility sinks appear consistently as featured amenities in real estate listings. The laundry room's existing drainage infrastructure also makes it a natural hub for broader maintenance tasks — things like cleaning the dryer vent fit naturally into the same space.
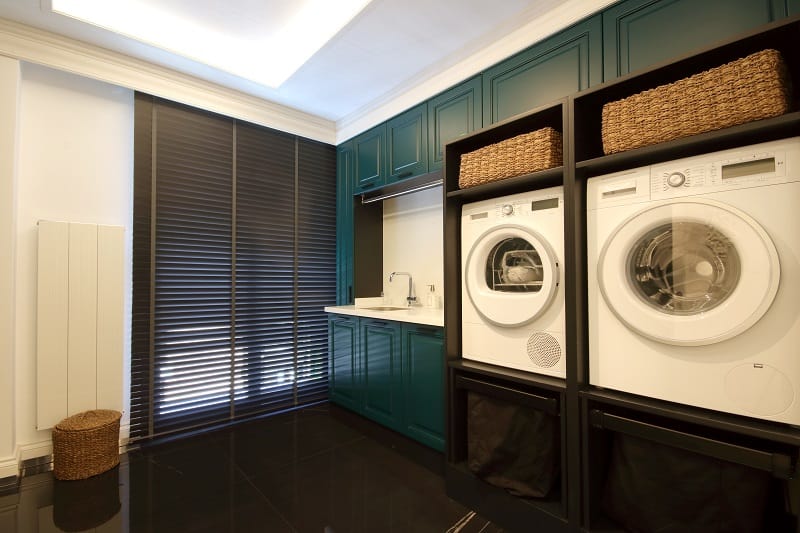
What to Watch Out For
Space is the primary constraint. In tight laundry closets or stacked-washer configurations, a floor-mounted sink cabinet simply may not fit. Wall-hung utility sinks address this, but they require solid blocking in the wall framing to safely bear the load — something to verify before purchase. Supply line tee connections introduce additional leak points that need periodic inspection. Our team checks all supply connections annually and replaces braided supply lines every five to seven years regardless of visible condition. Finally, homeowners in jurisdictions with strict permitting requirements may need a plumbing permit before cutting into any existing drain line — worth confirming with local building authorities before the first pipe cut is made.
Frequently Asked Questions
Can a utility sink share the washer's drain standpipe?
Yes, in most cases. As long as the standpipe is 2 inches in diameter or larger and has adequate venting — either through the main vent stack or an air admittance valve — the utility sink can share the same drain connection. Our team has used this approach in dozens of installations without code violations.
Does installing a utility sink next to a washer require a permit?
It depends on the local jurisdiction. Many municipalities require a plumbing permit for any new drain connection. Our standard practice is to confirm with the local building department before cutting into any drain line — the permit protects the homeowner during resale and inspections are typically straightforward.
What size P-trap does a utility sink use?
Most utility sinks use a 1.5-inch P-trap connecting to a 2-inch drain line. The P-trap outlet height relative to the drain inlet must be verified before committing to a cabinet height. A mismatch here causes persistent drainage problems that are difficult to correct after installation is complete.
How close to the washer should the utility sink be positioned?
Our recommendation is to keep the sink drain outlet within 6 inches horizontally of the washer's standpipe. A minimum 2-inch gap between the sink cabinet and the washer body prevents vibration contact during spin cycles. These clearances are the result of practical experience across many different laundry room layouts.
What is the best basin material for a utility sink in a laundry room?
Resin and polypropylene basins are our first recommendation. They are lightweight, impact-resistant, and easier to install than stainless steel or cast iron. Stainless steel is more durable under heavy use but transmits sound and shows water spots readily. Cast iron enameled sinks are overkill for most residential laundry applications.
Can the utility sink faucet tap into the washer's existing supply shutoff valves?
Yes. Installing compression tee fittings on both the hot and cold supply shutoffs and running dedicated braided supply lines to the faucet is the most practical approach. It keeps the installation contained to the existing plumbing zone and eliminates the need to run new lines from elsewhere in the home.
How is venting handled when a utility sink is added to an existing drain line?
The two most practical options are tying into the existing vent stack through the wall or installing an air admittance valve at the highest point of the sink's drain run. An AAV is code-approved in most jurisdictions and eliminates the need for new vent penetrations through the roof or exterior walls — our team reaches for this solution first in any retrofit scenario.
The difference between a utility sink installation that lasts decades and one that fails within months comes down entirely to whether the drain slope was measured and confirmed before the cabinet was anchored — plan the drain first, and the rest of the installation follows cleanly.


About Sandra Holt
Sandra Holt spent eight years as a project manager for a residential renovation company in Portland, Oregon, overseeing kitchen and bathroom remodels from initial estimate through final walkthrough. That work exposed her to an unusually wide range of home equipment — from HVLP spray guns and paint sprayers on the tools side to range hoods, kitchen faucets, and countertop appliances on the appliance side. After leaving the trades, she moved into consumer product writing, bringing the same methodical, hands-on approach she used to evaluate contractor-grade tools to everyday home gear. At PalmGear, she covers kitchen appliances, home tools, paint and finishing equipment, and cleaning gear.
You can get FREE Gifts. Or latest Free phones here.
Disable Ad block to reveal all the info. Once done, hit a button below