How to Use a Heat Press Machine: A Beginner's Guide
by Alice Davis
My first custom t-shirt came out looking like I'd ironed a crayon onto cotton. The design smeared, the colors bled, and the shirt was ruined. That failure taught me more than any tutorial ever could. Once I understood how to use a heat press machine properly — the right temperature, pressure, and timing — everything changed. If you're just starting out, this guide gives you everything you need to get great results from your very first press.
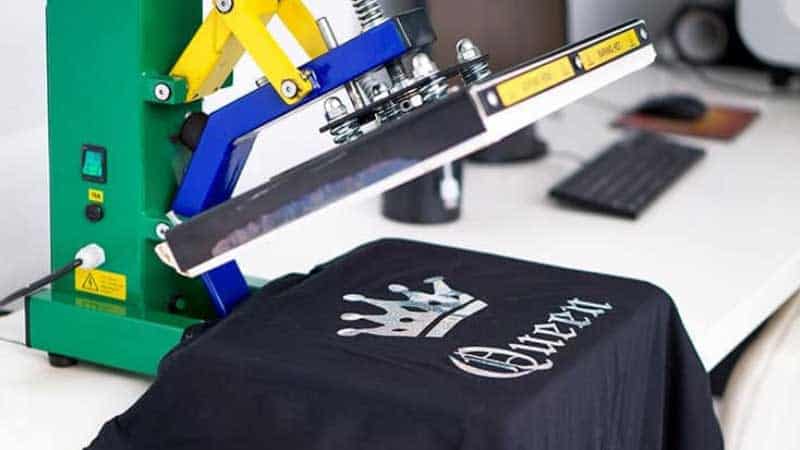
A heat press machine uses a combination of heat and pressure to permanently bond designs onto fabric and other materials. It's the go-to tool for custom apparel, personalized gifts, and small business merchandise. Whether you're pressing a simple logo onto a t-shirt or layering complex vinyl designs, the process is more straightforward than most beginners expect.

Head over to our heat press and vinyl crafts category for more guides, product reviews, and project ideas. And if you're comparing options before you buy, check out our breakdown of the best heat press for small businesses.
Contents
- Common Myths About Heat Press Machines
- What a Heat Press Setup Actually Costs
- What You Can Actually Make With a Heat Press
- How to Use a Heat Press Machine: Step-by-Step
- Pro Tips That Separate Good Presses from Great Ones
- Heat Press Pros and Cons
- Fixing the Most Common Heat Press Problems
- Frequently Asked Questions
Common Myths About Heat Press Machines
A lot of beginners hold back because they've heard things about heat presses that simply aren't true. Let's clear those up right now.
Myth 1: Heat presses are only for professionals. Not even close. Entry-level machines are affordable, easy to use, and designed with beginners in mind. You don't need any special training to get started.
Myth 2: A clothes iron does the same job. An iron delivers inconsistent heat and zero pressure control. A heat press applies even, calibrated heat and firm, uniform pressure across the entire platen (the flat heated surface). The results are completely different — and the heat press wins every time.
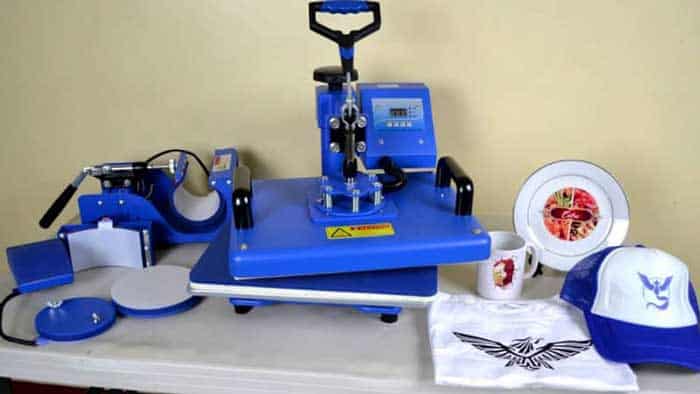
Myth 3: You can only press onto t-shirts. Heat presses work on tote bags, hats, mugs, mousepads, phone cases, and more. Different attachments and accessories expand what's possible significantly.
Myth 4: If the design looks right after pressing, it'll last forever. Longevity depends on using the correct settings for your specific material and transfer type. A design that looks fine fresh off the press can peel after one wash if the temperature or time was wrong.
Never skip the pre-press step — running the machine over your blank garment for 5 seconds before applying your transfer removes moisture and wrinkles that can ruin adhesion.
What a Heat Press Setup Actually Costs
Before you buy anything, it helps to know what kind of investment you're looking at. The good news: you can start for less than most people think.
Starter Budget
A basic 15×15 inch clamshell heat press (where the top plate opens straight up like a clamshell) runs between $80 and $200. Add in a roll of heat transfer vinyl (HTV), a cutting machine, and some blank garments, and your full starter setup lands somewhere between $200 and $400.
Mid-Range and Pro Setups
Mid-range swing-away presses — where the top plate swings to the side rather than opening upward — run $200 to $500 and give you safer, more precise placement. Professional-grade machines start around $600 and go well above $1,000.
| Setup Level | Machine Type | Estimated Cost | Best For |
|---|---|---|---|
| Beginner | Clamshell 15×15 | $80 – $200 | Hobbyists, first projects |
| Intermediate | Swing-Away 15×15 | $200 – $500 | Side hustle, small batch orders |
| Professional | Auto-open, digital controls | $600 – $2,000+ | High-volume production |
| Specialty | Hat press, mug press | $100 – $400 | Curved surfaces and accessories |
If you're deciding between a swing-away and clamshell style, our clamshell vs swing away heat press comparison lays out the real differences.
What You Can Actually Make With a Heat Press
The range of what you can create with a heat press is wider than most beginners expect. Once you understand the basics of how to use a heat press machine, the applications multiply fast.
Apparel and Accessories
- Custom t-shirts and hoodies with HTV or sublimation transfers
- Personalized hats and caps — see our full guide on how to heat press on hats and caps
- Tote bags and canvas bags for events, gifts, and retail
- Aprons, jerseys, team uniforms, and workwear
- Baby onesies and kids' clothing
Hard Surfaces and Specialty Items
- Ceramic mugs and coasters (with a mug press attachment)
- Mousepads and neoprene items
- Phone cases and laptop sleeves
- Canvas artwork and throw pillows
- Puzzles and flat hardboard items
If you want to explore sublimation printing as an alternative transfer method, check out our comparison of HTV vs sublimation to understand when each approach makes more sense.
How to Use a Heat Press Machine: Step-by-Step
Here's the complete process, from setup to finished product. Follow each step and you'll get clean, durable results every time.
Setting Up Your Machine
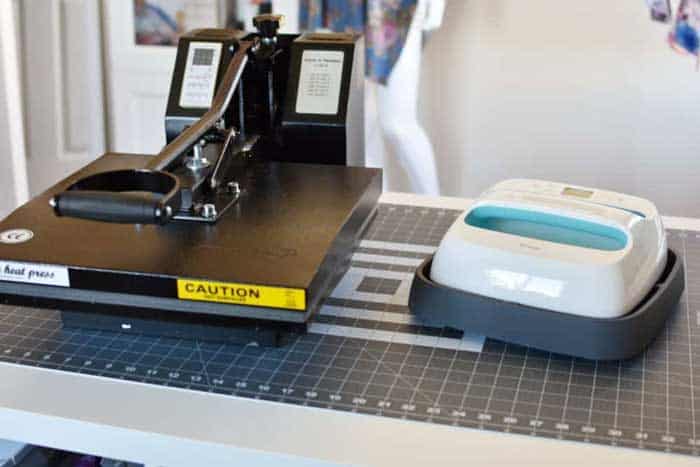
- Create your artwork. Design your image using software like Canva, Adobe Illustrator, or Cricut Design Space. For HTV, you'll mirror (flip) the image before cutting.
- Cut your transfer material. Load your HTV or sublimation paper and cut your design. For HTV, weed away (remove) the excess vinyl around your design.
- Set temperature, time, and pressure. These three variables are everything. Check the instructions that came with your transfer material — most HTV presses at 305°F–320°F for 10–15 seconds at medium pressure. Sublimation runs hotter, around 380°F–400°F.
- Pre-press your blank. Place your garment on the lower platen and press for 5 seconds with no transfer. This removes moisture and flattens wrinkles.
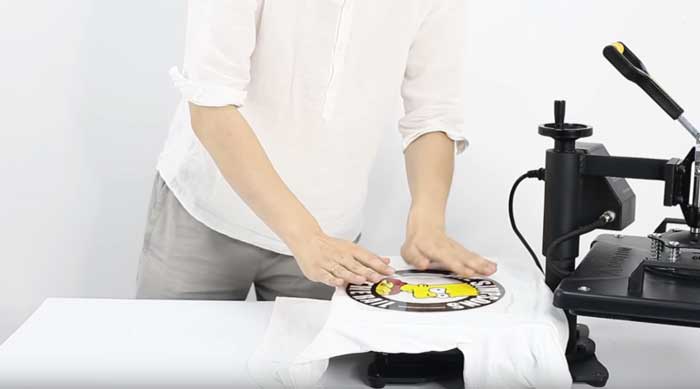
The Pressing Process
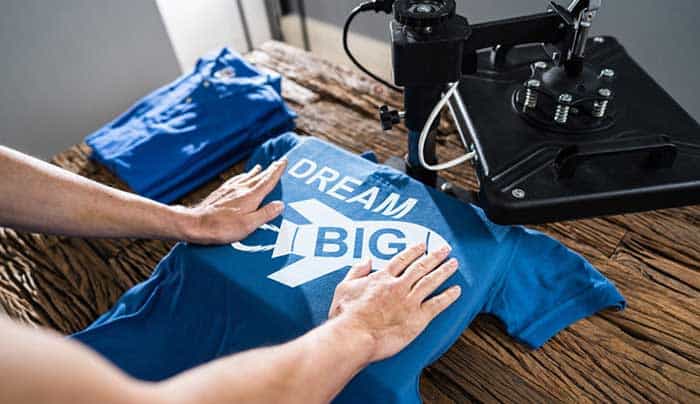
- Position your transfer. Place your design face-down on the garment (for HTV, the shiny carrier sheet faces up). Use heat-resistant tape to hold it in place if needed.
- Cover with protective paper. Place a Teflon sheet or parchment paper over the design to protect both the transfer and your platen from residue.
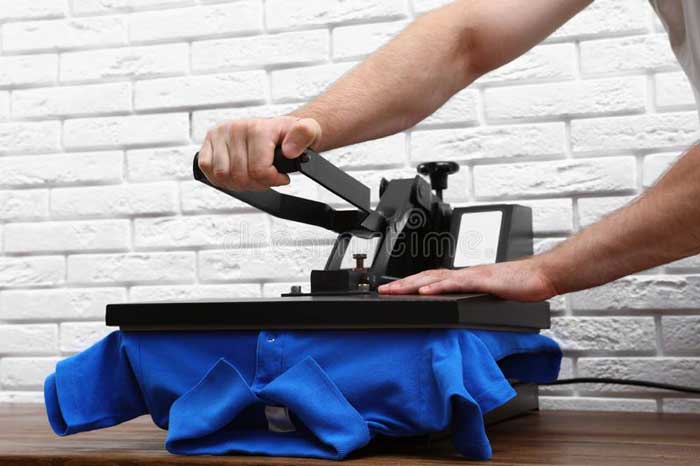
- Press. Lower the top platen and lock it down. Let the timer run its full count — don't lift early.
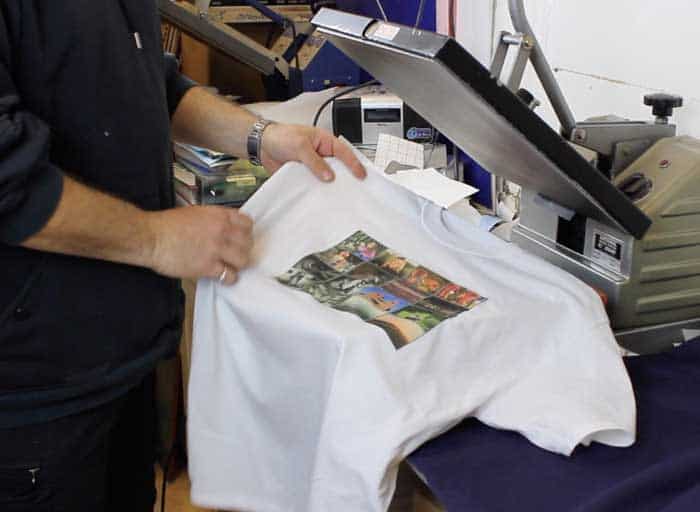
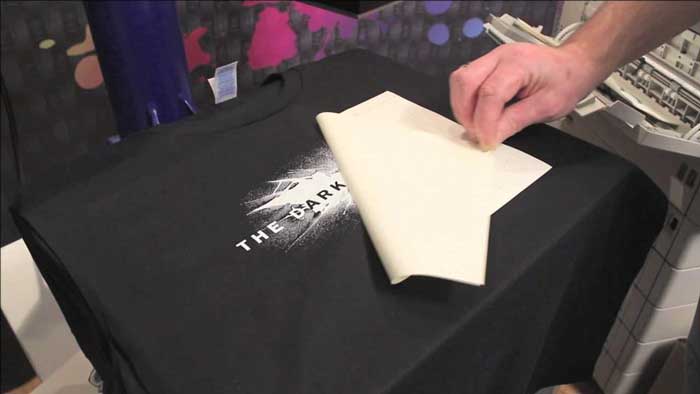
- Peel. Once the timer goes off, open the press. Peel the carrier sheet while it's still warm (hot peel) or let it cool completely (cold peel), depending on your material's instructions.
- Final press. Flip the garment inside-out and give it one more quick 5-second press to set the transfer fully.
Pro Tips That Separate Good Presses from Great Ones
Getting a design to stick is step one. Getting it to stick perfectly, every time, for dozens of washes — that's the real goal. These tips close the gap between decent and professional results.
Material-Specific Tips
- Cotton: Presses beautifully. Use 100% cotton when possible for the cleanest HTV results.
- Polyester: Needs lower temperatures (270°F–300°F) to avoid scorching or dye migration (when the fabric's dye bleeds into the transfer).
- Blends: Always test on a scrap piece first. 50/50 cotton-poly blends behave differently than pure fabrics.
- Dark garments: Use opaque HTV or white under-base layers. Standard vinyl won't show up on black fabric.
Getting Consistent Results
Pressure consistency is often overlooked by beginners. Most machines have a pressure adjustment knob — medium pressure is correct for most standard HTV. Too light and the transfer won't bond. Too heavy and you'll flatten delicate vinyl textures or scorch thin fabrics.
Always use a Teflon sheet. Always. It protects both the machine platen and your garment, and it gives you more even heat distribution. Keep a notepad nearby to log settings for each material — once you find what works, you want to repeat it exactly.
If you're working with layered vinyl designs, our guide on how to layer HTV vinyl on a heat press walks you through the exact sequence for stacking multiple colors without lifting or bubbling.
Always test a new HTV brand on a scrap garment before pressing a finished product — manufacturers vary in their ideal temperature and time settings even for similar material types.
Heat Press Pros and Cons
A heat press isn't the right tool for every situation. Here's an honest look at the advantages and limitations.
Pros:
- Produces professional, wash-durable results that outlast iron-on methods
- Works with a huge variety of materials: HTV, sublimation, DTF (direct-to-film) transfers, rhinestones
- Consistent results once your settings are dialed in
- Scales easily — you can press dozens of garments per hour
- Low startup cost compared to screen printing or embroidery equipment
Cons:
- Requires a flat, hard workspace and a dedicated electrical outlet
- Learning curve for temperature and pressure settings — expect a few ruined pieces early on
- Not ideal for very small or intricate designs that require precision placement
- Sublimation only works on polyester or polymer-coated surfaces (won't work on 100% cotton)
- Budget machines can have hot spots (uneven heat distribution across the platen)
Fixing the Most Common Heat Press Problems
Even with the right technique, problems happen. Here's how to diagnose and fix the most frequent issues beginners run into.
Design Peeling or Not Sticking
- Temperature too low: The adhesive on the HTV didn't fully activate. Increase temperature by 5°F and press again.
- Press time too short: Add 3–5 seconds to your press time and test on a scrap piece.
- Moisture in the garment: Pre-press the blank for 5–8 seconds before applying the transfer.
- Wrong peel method: Check your HTV instructions — some require hot peel, some require cold. Using the wrong method tears the design.
Uneven Transfers and Scorching
Uneven transfers usually mean uneven pressure. Check that your platen is parallel to the lower base — many machines have an adjustment screw for this. A silicone pad on the lower platen helps fill gaps for seams and thick fabrics.
Scorching (brown marks or shiny impressions on fabric) means your temperature is too high or your time is too long. Lower the temp by 10°F and reduce press time. Always use a Teflon sheet as a buffer between the platen and your garment.
If you're working on a specialty project like glitter vinyl and getting poor adhesion, our guide on how to apply glitter HTV with a heat press covers the specific pressure and temperature adjustments that glitter vinyl requires.
Frequently Asked Questions
What temperature should I use for a heat press on t-shirts?
Most standard HTV on cotton t-shirts presses at 305°F–320°F for 10–15 seconds at medium pressure. Always check the instructions from your specific HTV brand, as formulations vary. Sublimation on polyester runs hotter, around 380°F–400°F for 45–60 seconds.
Do I need to mirror my design before pressing?
Yes — for HTV, you must mirror (flip horizontally) your design before cutting because you're pressing the vinyl face-down onto the fabric. For sublimation paper prints, you also mirror the design. Skipping this step means your text and any asymmetric design will appear reversed on the finished product.
How long does a heat press transfer last after washing?
A properly pressed HTV transfer on a 100% cotton garment lasts 50 or more wash cycles when you wash it inside-out in cold water. Sublimation transfers are permanent and part of the fabric — they last the life of the garment. Poor settings or skipped steps reduce durability significantly.
Can I use a heat press on polyester without ruining it?
Yes, but you need to lower your temperature to 270°F–295°F and reduce your press time. High heat on polyester causes dye migration, where the fabric's color bleeds into your transfer. Always test on a scrap piece of the same fabric before pressing your final garment.
What is the difference between hot peel and cold peel HTV?
Hot peel HTV lets you pull the carrier sheet away immediately after pressing while the transfer is still warm. Cold peel HTV requires you to wait until the transfer cools completely before removing the carrier. Using the wrong method — peeling hot when the material requires cold, or vice versa — causes the design to lift or tear.
Master the three variables — temperature, time, and pressure — and a heat press machine stops being intimidating and starts being the most reliable tool in your creative workspace.


About Alice Davis
Alice Davis is a crafts educator and DIY enthusiast based in Long Beach, California. She spent six years teaching textile design and applied arts at a community college, where she introduced students to everything from basic sewing techniques to vinyl cutting machines and heat press printing as practical, production-ready tools. That classroom experience means she has put more sewing machines, embroidery setups, Cricut systems, and heat press units through real project work than most reviewers ever will. At PalmGear, she covers sewing machines and embroidery tools, vinyl cutters, heat press gear, Cricut accessories, and T-shirt printing guides.
You can get FREE Gifts. Or latest Free phones here.
Disable Ad block to reveal all the info. Once done, hit a button below