How To Make Car Vinyl Wraps at Home (And Which Vinyl To Use)
by Alice Davis
Our team picked up a roll of matte black cast vinyl and a squeegee one rainy weekend. Two hours later, we had more air bubbles than a soda can — and a car door that looked worse than when we started. That first attempt was humbling, and educational.
Understanding how to make car vinyl at home is entirely achievable, but only when the fundamentals are solid. This guide covers what our team has tested: vinyl grades, surface prep, application technique, and the mistakes that derail most first attempts. For anyone already working through our heat press and vinyl category, moving from fabric to automotive vinyl is a natural next step.
Contents
The Real Case for DIY Car Vinyl
Cost vs. Shop Pricing
A professional full-vehicle wrap runs $2,500–$5,000 at most shops. DIY materials for the same job cost $300–$800 depending on vinyl grade and panel count. That's a significant delta — and the main reason most people are drawn to learning how to make car vinyl at home in the first place.
| Factor | DIY Car Vinyl | Professional Shop |
|---|---|---|
| Material Cost | $300–$800 | Included in labor |
| Total Cost | $300–$800 | $2,500–$5,000+ |
| Equipment Needed | Squeegee, heat gun, knife | Full install bay |
| Learning Curve | Moderate | None (done for you) |
| Finish Consistency | Panel-dependent | High |
| Warranty | None | Often 1–2 years |
| Schedule Flexibility | Any time | Appointment-based |
When DIY Wrapping Makes Sense
Partial wraps — hoods, roofs, door panels, mirror caps — are well within reach for home users. Full wraps on complex body lines require more skill. Our team's consistent recommendation: start with a single panel, master it, then expand from there.
The protective case is equally strong. Quality automotive vinyl shields original paint from UV fading, road debris, and minor abrasion. It's fully reversible. It's also a lower-risk canvas for color experimentation than a full respray.
- Racing stripes and decals: simplest DIY application
- Mirror caps, door handles, interior trim: flat surfaces, ideal entry point
- Hood wraps, roof panels, accent sections: beginner-appropriate with care
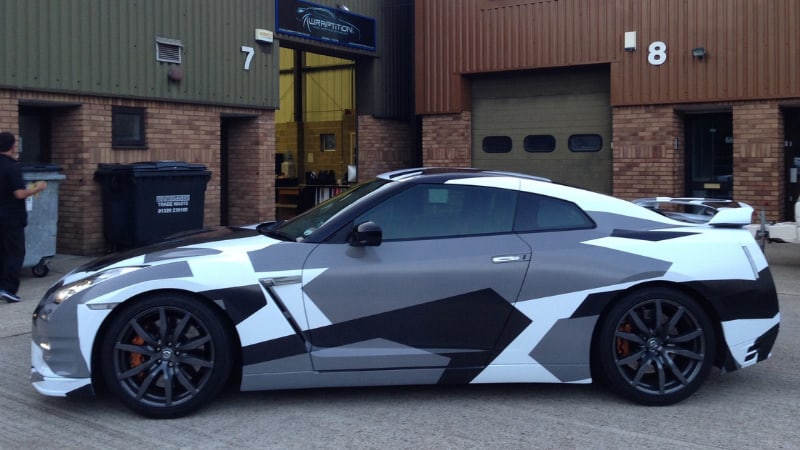
- Full-body wraps with complex body lines: intermediate-to-advanced territory
Picking the Right Vinyl Film
Cast vs. Calendered
Cast vinyl is manufactured by casting liquid PVC onto a casting sheet. The result is a thin (2–3 mil), dimensionally stable film with excellent conformability over compound curves. Calendered vinyl is extruded through rollers: thicker (3.5–5 mil), less conformable, and less expensive. For automotive exterior use — especially any panel with a curve — cast is the professional spec.
Benchmark SKUs our team recommends: 3M 1080 series, Avery Dennison SW900, ORACAL 970RA. All three feature air-release channel adhesives, which meaningfully reduce bubble formation during home installs.
Specialty Finishes and Use Cases

Finish selection affects both aesthetics and application difficulty:
- Matte: Most forgiving. Minor squeegee lines disappear. Best starting spec for home installs.
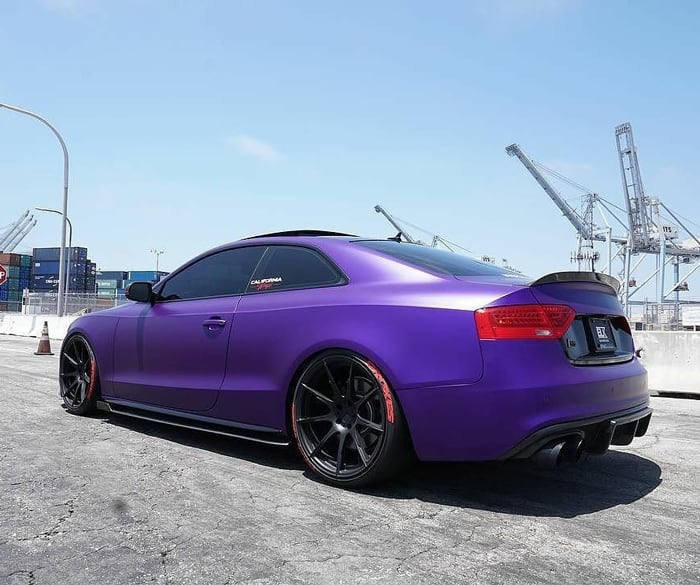
- Gloss: Mirrors a paint finish. Dust contamination and prep errors show clearly.
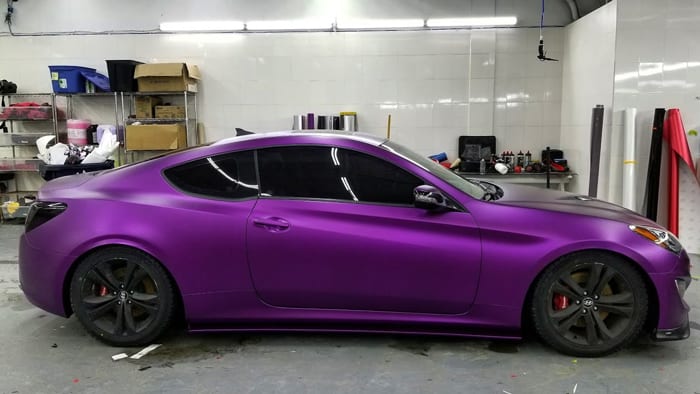
- Satin/Silk: Popular mid-sheen. More refined than matte, more forgiving than gloss.
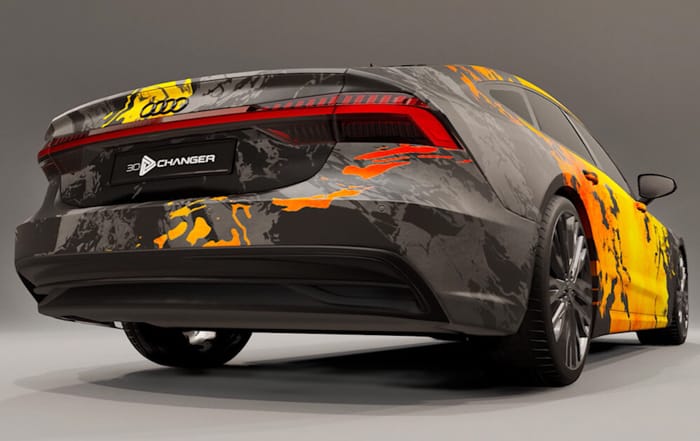
- Color-shift/Flip: Complex to align across large panels. Not a first project.
- Chrome/Mirror: Virtually professional-only. Our team doesn't recommend home installs for this finish category.
One important distinction: heat transfer vinyl used for apparel — the same material covered in our guides on applying HTV with an iron and heat pressing hats — is not rated for exterior automotive use. Adhesive chemistry and film thickness specs are entirely different.
How to Make Car Vinyl at Home: The Full Process
Surface Preparation
Panel temperature should sit between 60–80°F at install time. Cold panels (under 50°F) cause premature adhesion failure. Hot surfaces (over 90°F) make film grab too fast to reposition. An IPA (isopropyl alcohol 70–90%) wipe-down removes wax, silicone, and surface oils. Clay bar decontamination is recommended on painted surfaces before any vinyl goes down.
- Wash panel with soap and water, rinse thoroughly, dry completely
- Clay bar to remove embedded paint contaminants
- IPA wipe-down to degrease — allow full evaporation before proceeding
- Inspect for rust, peeling clear coat, or deep scratches — vinyl doesn't hide surface damage
Cutting and Weeding
Most home users start with a vinyl cutter for shaped decals and stripe work. Our guide on connecting a vinyl cutter to a computer covers hardware setup in detail. For large-format automotive panels, plotters like the Graphtec CE6000 handle wider media than hobby machines like the Cricut Maker or Silhouette Cameo.
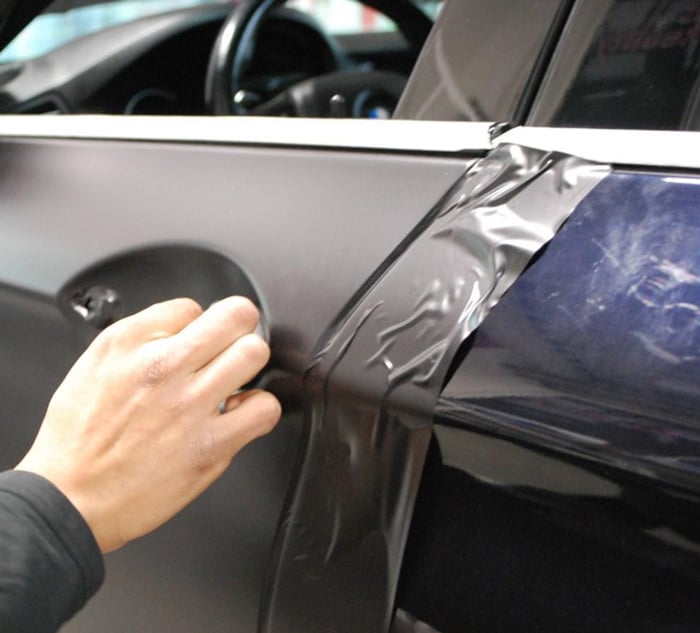
For full panel wraps, cutting is done freehand or with knifeless tape. Knifeless tape (3M or Avery variants) is strongly preferred — it eliminates any risk of scoring the clear coat during edge trimming.
Application and Heat Setting

Wet application (dilute soapy water solution) allows repositioning — essential for large panels. Dry application is faster but unforgiving. Our team defaults to wet method for anything larger than a door handle. Squeegee technique matters: 45-degree angle, overlapping passes, firm and even pressure from the center outward.
A heat gun — not a hair dryer, which lacks the BTU output for adhesive activation — set to 150–180°F conforms film to curved surfaces. Post-heat sealing at panel edges (212°F) prevents lifting. Tucking edges under door jambs and trim rather than cutting flush is the mark of a solid installation.
Post-heat sealing is the step most home wrappers skip — running a final pass at 212°F along every edge locks the adhesive and dramatically extends wrap longevity.
First-Timer vs. Seasoned Wrapper
Starting Out Right
Beginners should start with small, flat surfaces: mirror caps, door handles, interior trim strips. Flat acrylic practice panels are widely recommended before touching the actual vehicle. The spatial reasoning and material tension awareness developed through other hands-on projects — like hemming flexible fabric panels or constructing shaped material sections without a pattern — transfers directly to vinyl work. Anyone who runs practice sessions on scrap first wastes far less film on the actual install.
- Start with flat panels — never complex curves on the first attempt
- Buy 20% more vinyl than the panel area — waste budget is essential
- Practice squeegee pressure on old acrylic or tempered glass first
- Keep a surface thermometer on hand — guessing panel temp leads to failures
Pro-Level Techniques
Experienced wrappers use two-person installs for large panels. They pre-stretch film over contours with a heat gun before committing the adhesive. Seam placement is planned around existing body lines, never arbitrary. Overlap distances and tension angles are calculated before film contacts paint.
The same discipline behind managing material organization on detail work and keeping precision tools properly maintained applies directly to wrapping. Contaminated squeegees scratch film. Poorly stored vinyl develops memory curl that fights conformability. Tool hygiene is part of the skill set, not an afterthought.
Myths, Mistakes, and Fixes
What Most People Get Wrong
Myth: Vinyl wraps damage paint. Quality cast vinyl on properly prepped paint is removable without paint damage for 3–7 years. Wikipedia's vehicle wrap overview notes that automotive film protects original paint from UV fading and minor abrasion — the opposite of damaging it.
Myth: Any vinyl works on cars. Craft vinyl (Oracal 631, Siser EasyWeed) is not rated for exterior automotive use. Adhesive chemistry and film thickness differ entirely from automotive-grade cast film. Using craft vinyl outdoors results in rapid edge lifting and accelerated color degradation.
Myth: Bubbles are permanent. Small bubbles under 3mm typically self-heal in warm conditions as the adhesive flows. Larger air pockets can be worked out with a squeegee and pin prick within 48 hours of installation if caught early.
Diagnosing and Correcting Problems
- Lifting edges: Post-heat at 200–212°F and press firmly. Edge primer (3M 94) can save partially lifted sections before full delamination.
- Silvering (visible adhesive channel pattern): Caused by over-stretching. That section requires removal and re-lay — there's no shortcut fix.
- Wrinkling at concave curves: Film needs relief cuts before forcing conformability. Never brute-force a concave recess without heat.
- Adhesive residue after removal: Warm film to 100–120°F before peeling. Residue responds to IPA wipe-down or dedicated adhesive remover.
Skipping surface decontamination is the single most common root cause of early wrap failure. Wax or silicone beneath the adhesive creates a barrier — edges lift within days regardless of field application quality. Treating every wrap project like paint correction prep — methodical, not rushed — is the standard our team holds itself to.
Frequently Asked Questions
What vinyl is best for wrapping a car at home?
Cast automotive vinyl — 3M 1080, Avery Dennison SW900, or ORACAL 970RA — is the professional standard for home installs. These films are 2–3 mil thick with air-release channel adhesives that reduce bubble formation significantly. Matte finishes are the most forgiving for anyone starting out with how to make car vinyl at home.
How long does a DIY car vinyl wrap last?
Quality cast vinyl on properly prepared paint lasts 3–7 years outdoors. Longevity depends on UV exposure, installation quality, and whether post-heat sealing was performed along all edges. Partial wraps on sheltered surfaces like roofs can push past 7 years.
What tools does a home wrapper need for a car vinyl project?
The core kit includes a felt-edge squeegee, a 1,500W minimum heat gun, vinyl knife or knifeless tape, IPA spray, lint-free cloths, and a surface thermometer. A vinyl plotter or cutter is needed for shaped decals — our guide on connecting a vinyl cutter to a computer covers that setup in detail.
Can heat transfer vinyl be used on car exteriors?
No. HTV is engineered for fabric applications bonded under heat press pressure. Automotive exterior surfaces require cast film with pressure-sensitive acrylic adhesive rated for UV exposure, temperature cycling, and precipitation. HTV used outdoors on vehicles fails rapidly, typically within weeks.
How do most people remove car vinyl without damaging paint?
Warming the film with a heat gun to 100–120°F softens the adhesive before peeling. Slow, low-angle removal (under 45 degrees) is the recommended technique. Residue responds to IPA or a dedicated adhesive remover. Cast vinyl removed within its rated lifespan rarely damages well-maintained clear coat.
What temperature is ideal for applying car vinyl?
Ambient and surface temperatures of 60–80°F are the target range. Below 50°F the adhesive doesn't activate properly and edge lifting follows. Above 90°F the film grabs too fast to reposition. Heat gun temperatures during application range from 150°F for field conformability to 212°F for final edge sealing.
Is car vinyl waterproof after installation?
Yes. Properly installed automotive cast vinyl is fully waterproof and car-wash safe after a 24-hour cure period. High-pressure washes aimed directly at seams or edges should be avoided for the first week. Hand washing is the safer method for the first 48–72 hours post-installation.
Key Takeaways
- Cast automotive vinyl (3M 1080, Avery SW900, ORACAL 970RA) is the only appropriate spec for home car wrapping — craft and HTV films are not substitutes for exterior automotive use.
- Surface preparation — clay bar decontamination followed by an IPA wipe-down at 60–80°F — is the single biggest factor in how long a wrap lasts.
- Post-heat sealing at 212°F along every panel edge is the step most home installs skip, and it's critical for preventing early lift and delamination.
- Starting with flat panels and budgeting 20% extra material are the two habits that separate successful home wrappers from those who give up after the first attempt.


About Alice Davis
Alice Davis is a crafts educator and DIY enthusiast based in Long Beach, California. She spent six years teaching textile design and applied arts at a community college, where she introduced students to everything from basic sewing techniques to vinyl cutting machines and heat press printing as practical, production-ready tools. That classroom experience means she has put more sewing machines, embroidery setups, Cricut systems, and heat press units through real project work than most reviewers ever will. At PalmGear, she covers sewing machines and embroidery tools, vinyl cutters, heat press gear, Cricut accessories, and T-shirt printing guides.
You can get FREE Gifts. Or latest Free phones here.
Disable Ad block to reveal all the info. Once done, hit a button below